
The Nashville Food Project’s Blog


4 Tips to Growing When the Going Gets Hot
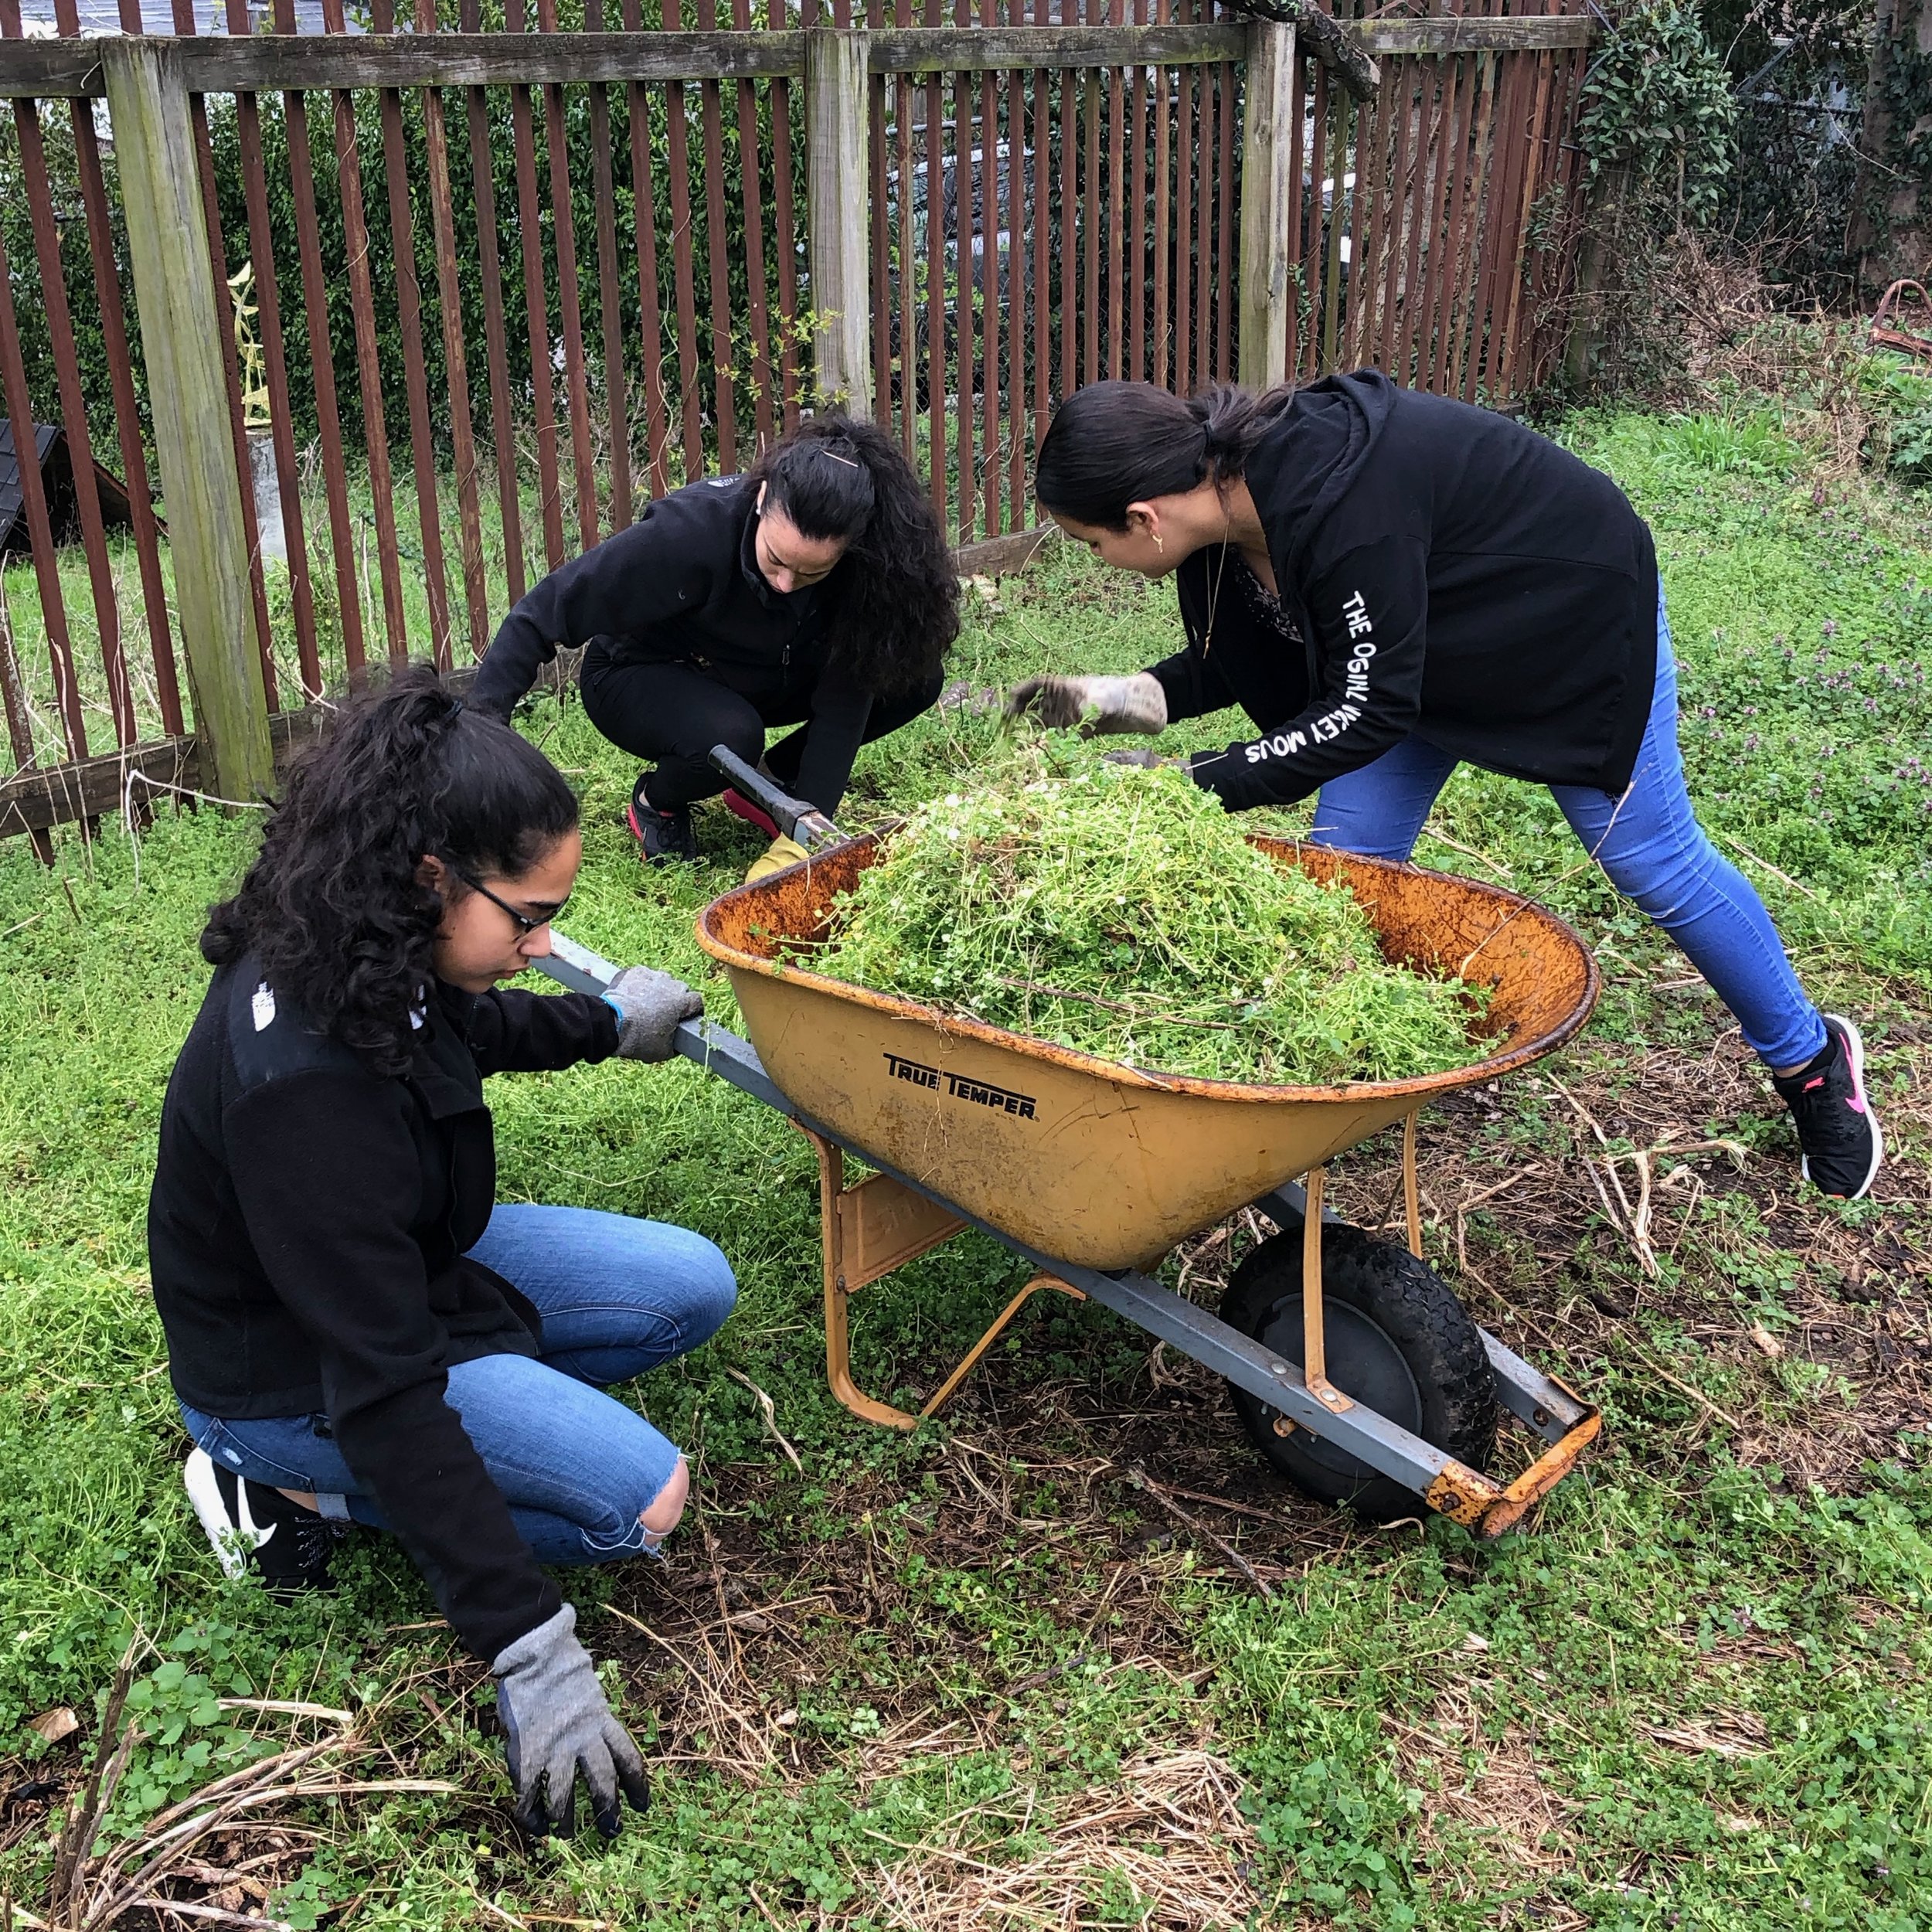
July in Tennessee can be a tough time to stay motivated to get outside and face what seems like an endless wave of weeds, bugs, and humidity. But season after season, you may find yourself being drawn back in. How do you stay motivated to keep gardening? We asked our staff to share their tips and advice on staying inspired and active in their own gardens.

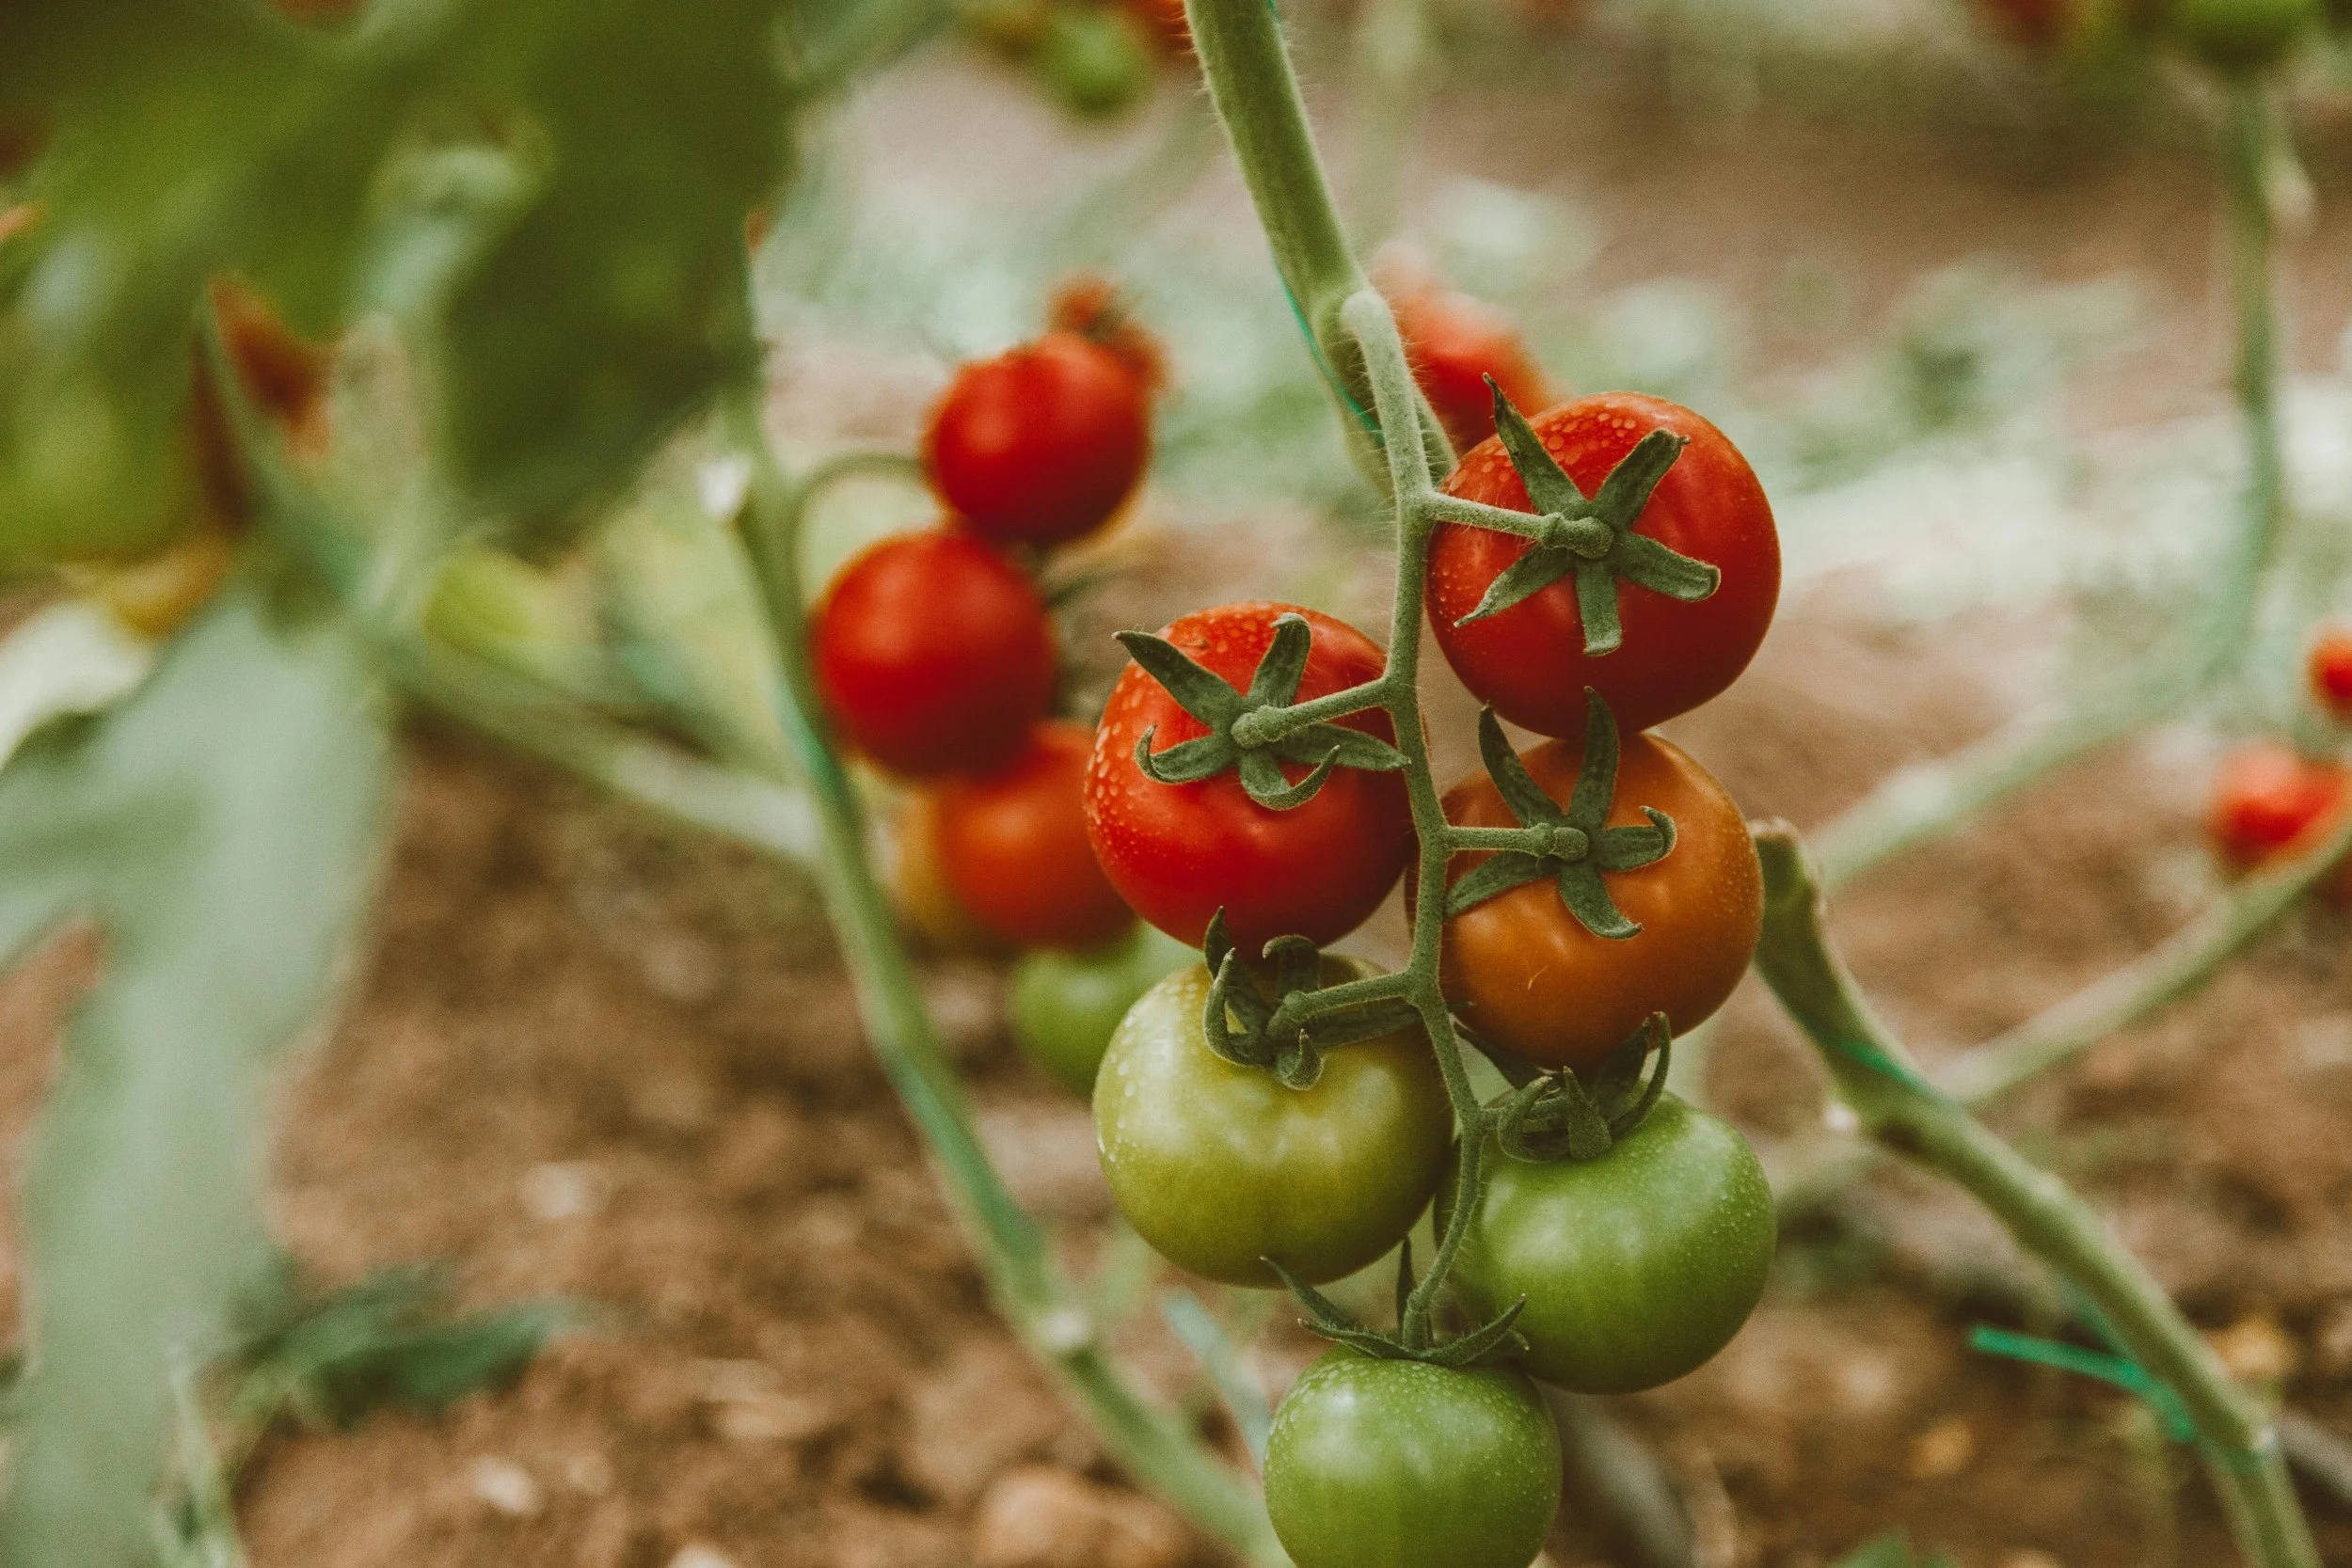
Gardens are pretty magic, especially in the spring. Soil is freshly turned, the air is cool, seeds are planted, and everything seems possible. Then the weeks roll on, and slowly but surely, summer arrives. As your harvest starts to come in, the days are getting hotter, the pests are getting bigger, and the weeds are getting higher.
Sound familiar? You’re not alone! July in Tennessee can be a tough time to stay motivated to get outside and face what seems like an endless wave of weeds, bugs, and humidity. But season after season, you may find yourself being drawn back in.
How do you stay motivated to keep gardening? We asked our staff to share their tips and advice on staying inspired and active in their own gardens.
Do a Little Every Day
“Do a little bit every day, preferably in the morning or evening when it’s cool and you can stay out of the sun. If there’s an area with loads of weeds, use the summer sun’s power to kill them by mulching the area with black plastic for awhile. Another tactic could be putting down a thin layer of cardboard covered with compost for weed killing.
”
2. Don’t Just Work, Enjoy!
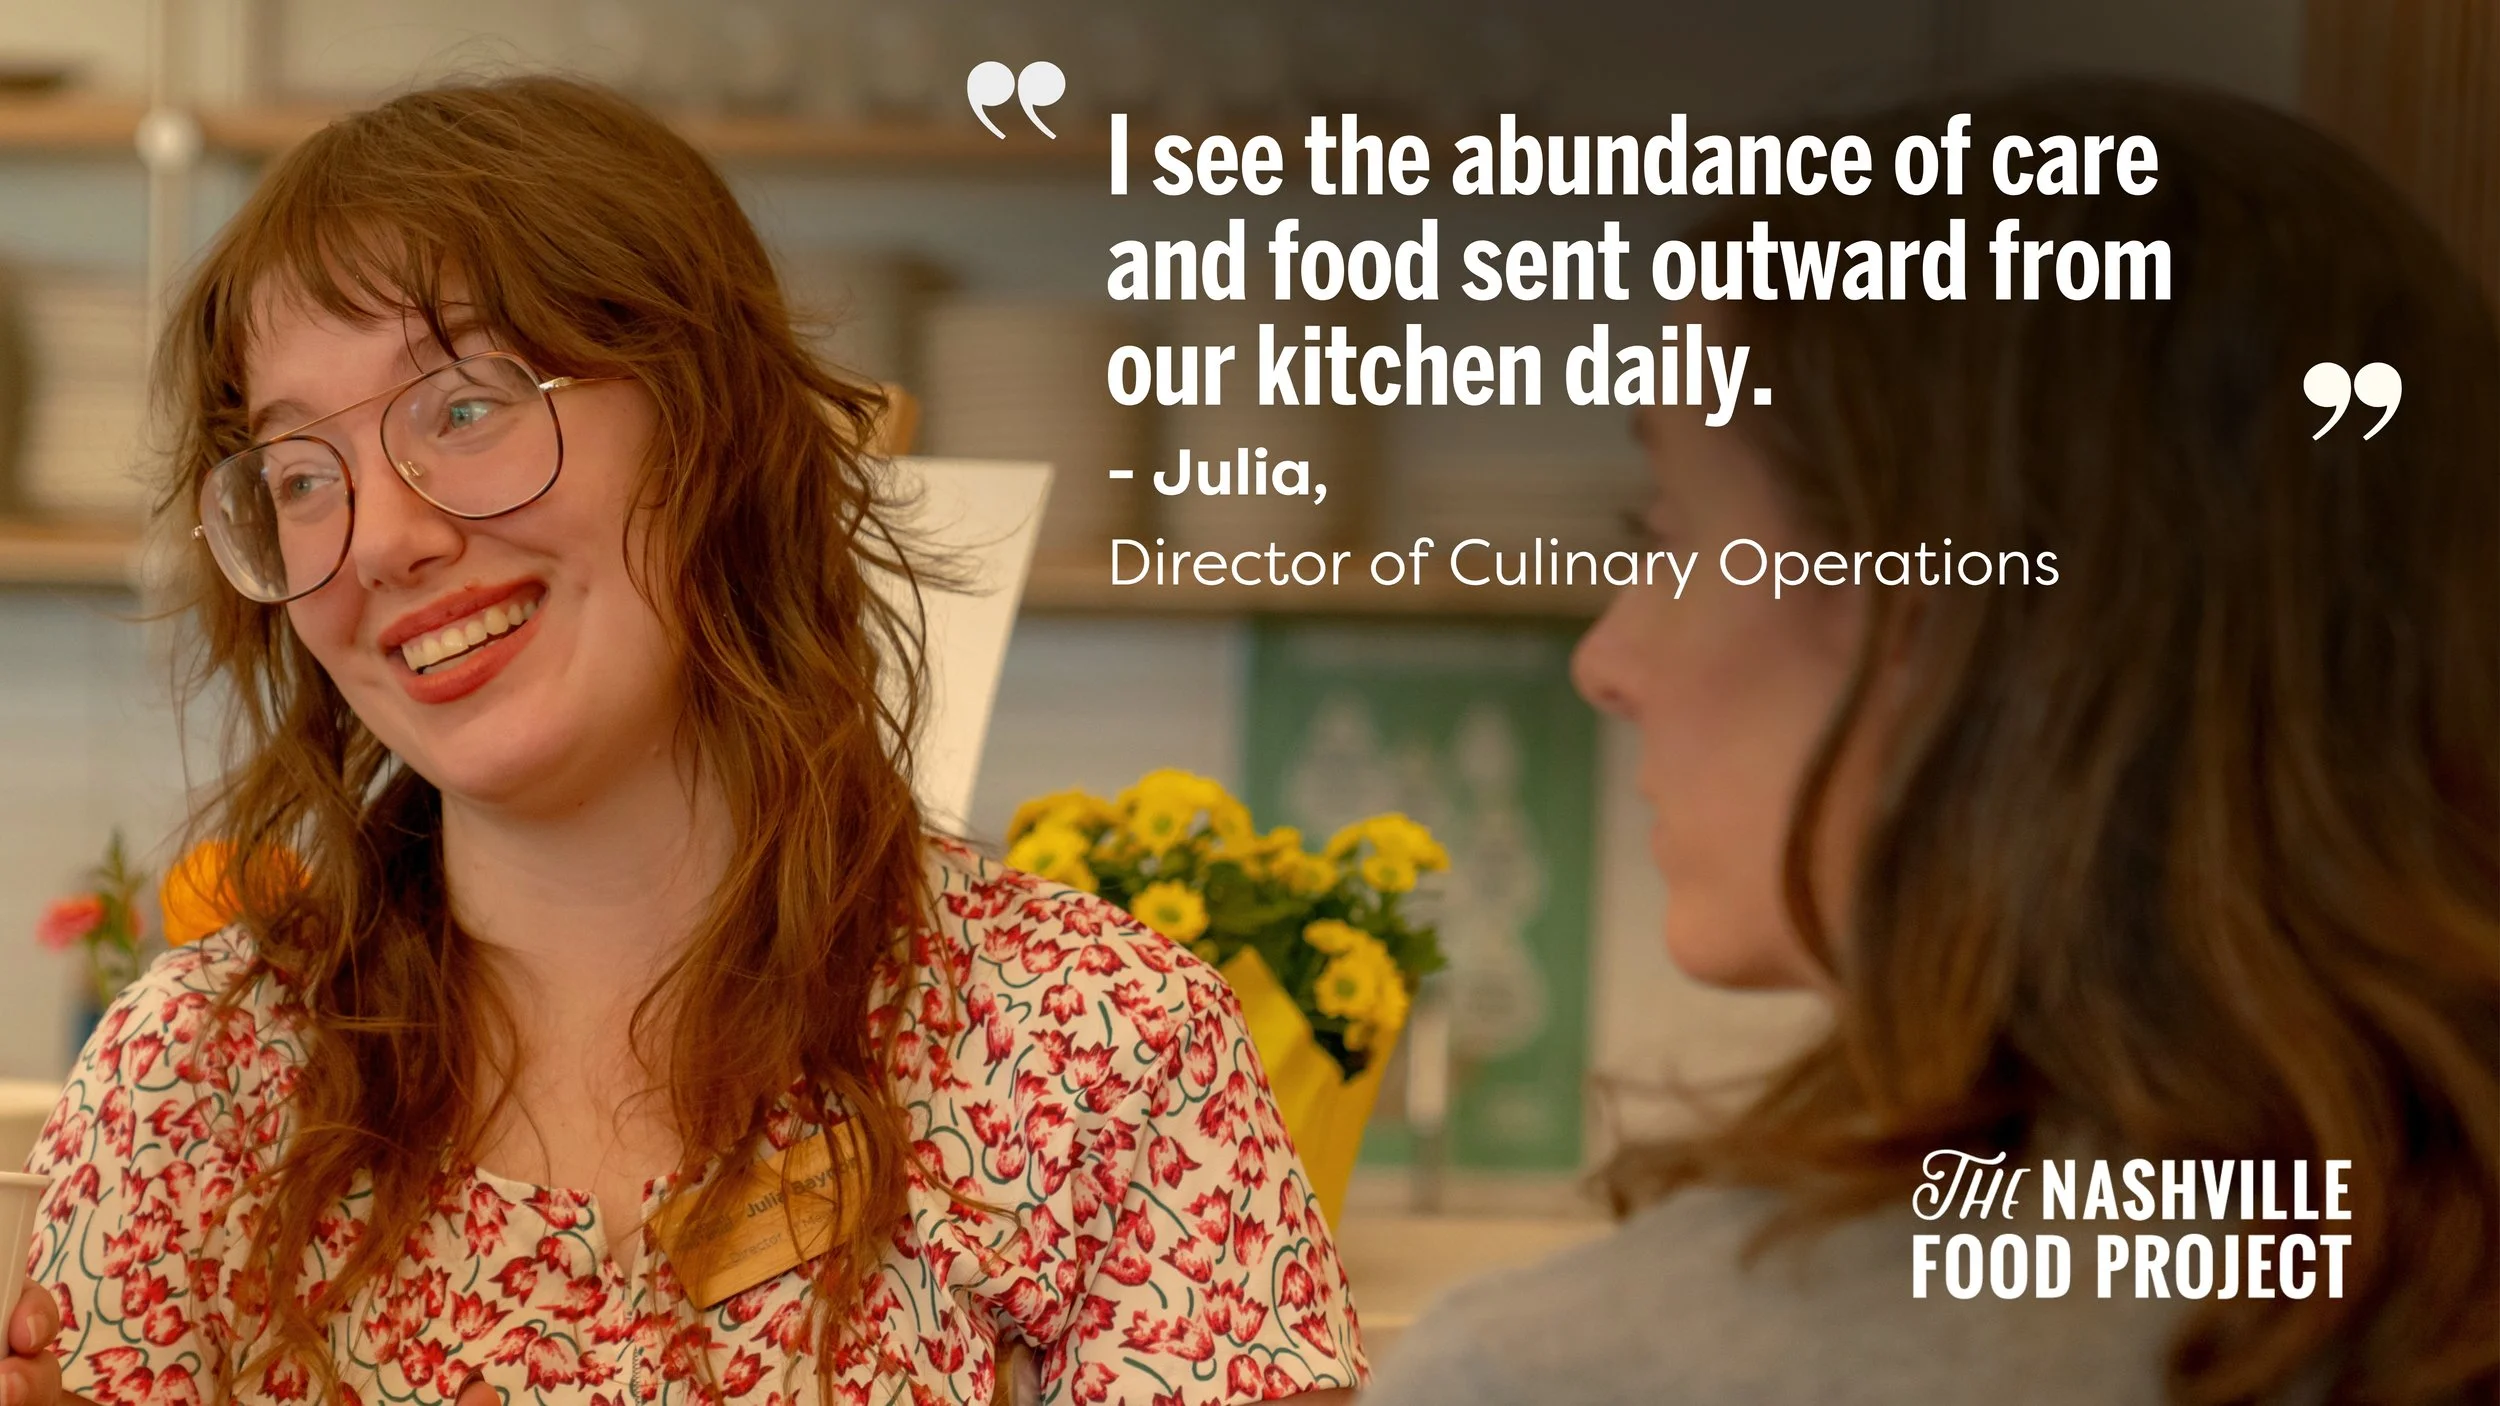
“My favorite thing to do to stay motivated in the garden is to not just go out to the space to work, especially when it’s hot! I like to reserve some time early in the morning or as the sun is setting to just spend some time in the garden enjoying the abundance and beauty of the space. To pick a few flowers or fruits just for myself to enjoy and to sit and watch and listen as birds and bees move happily around me. It’s a grounding time and reminds me why we work so hard to grow our own!
Also... Buy a nice stirrup hoe. They are the best.”
3. It’s Better Together
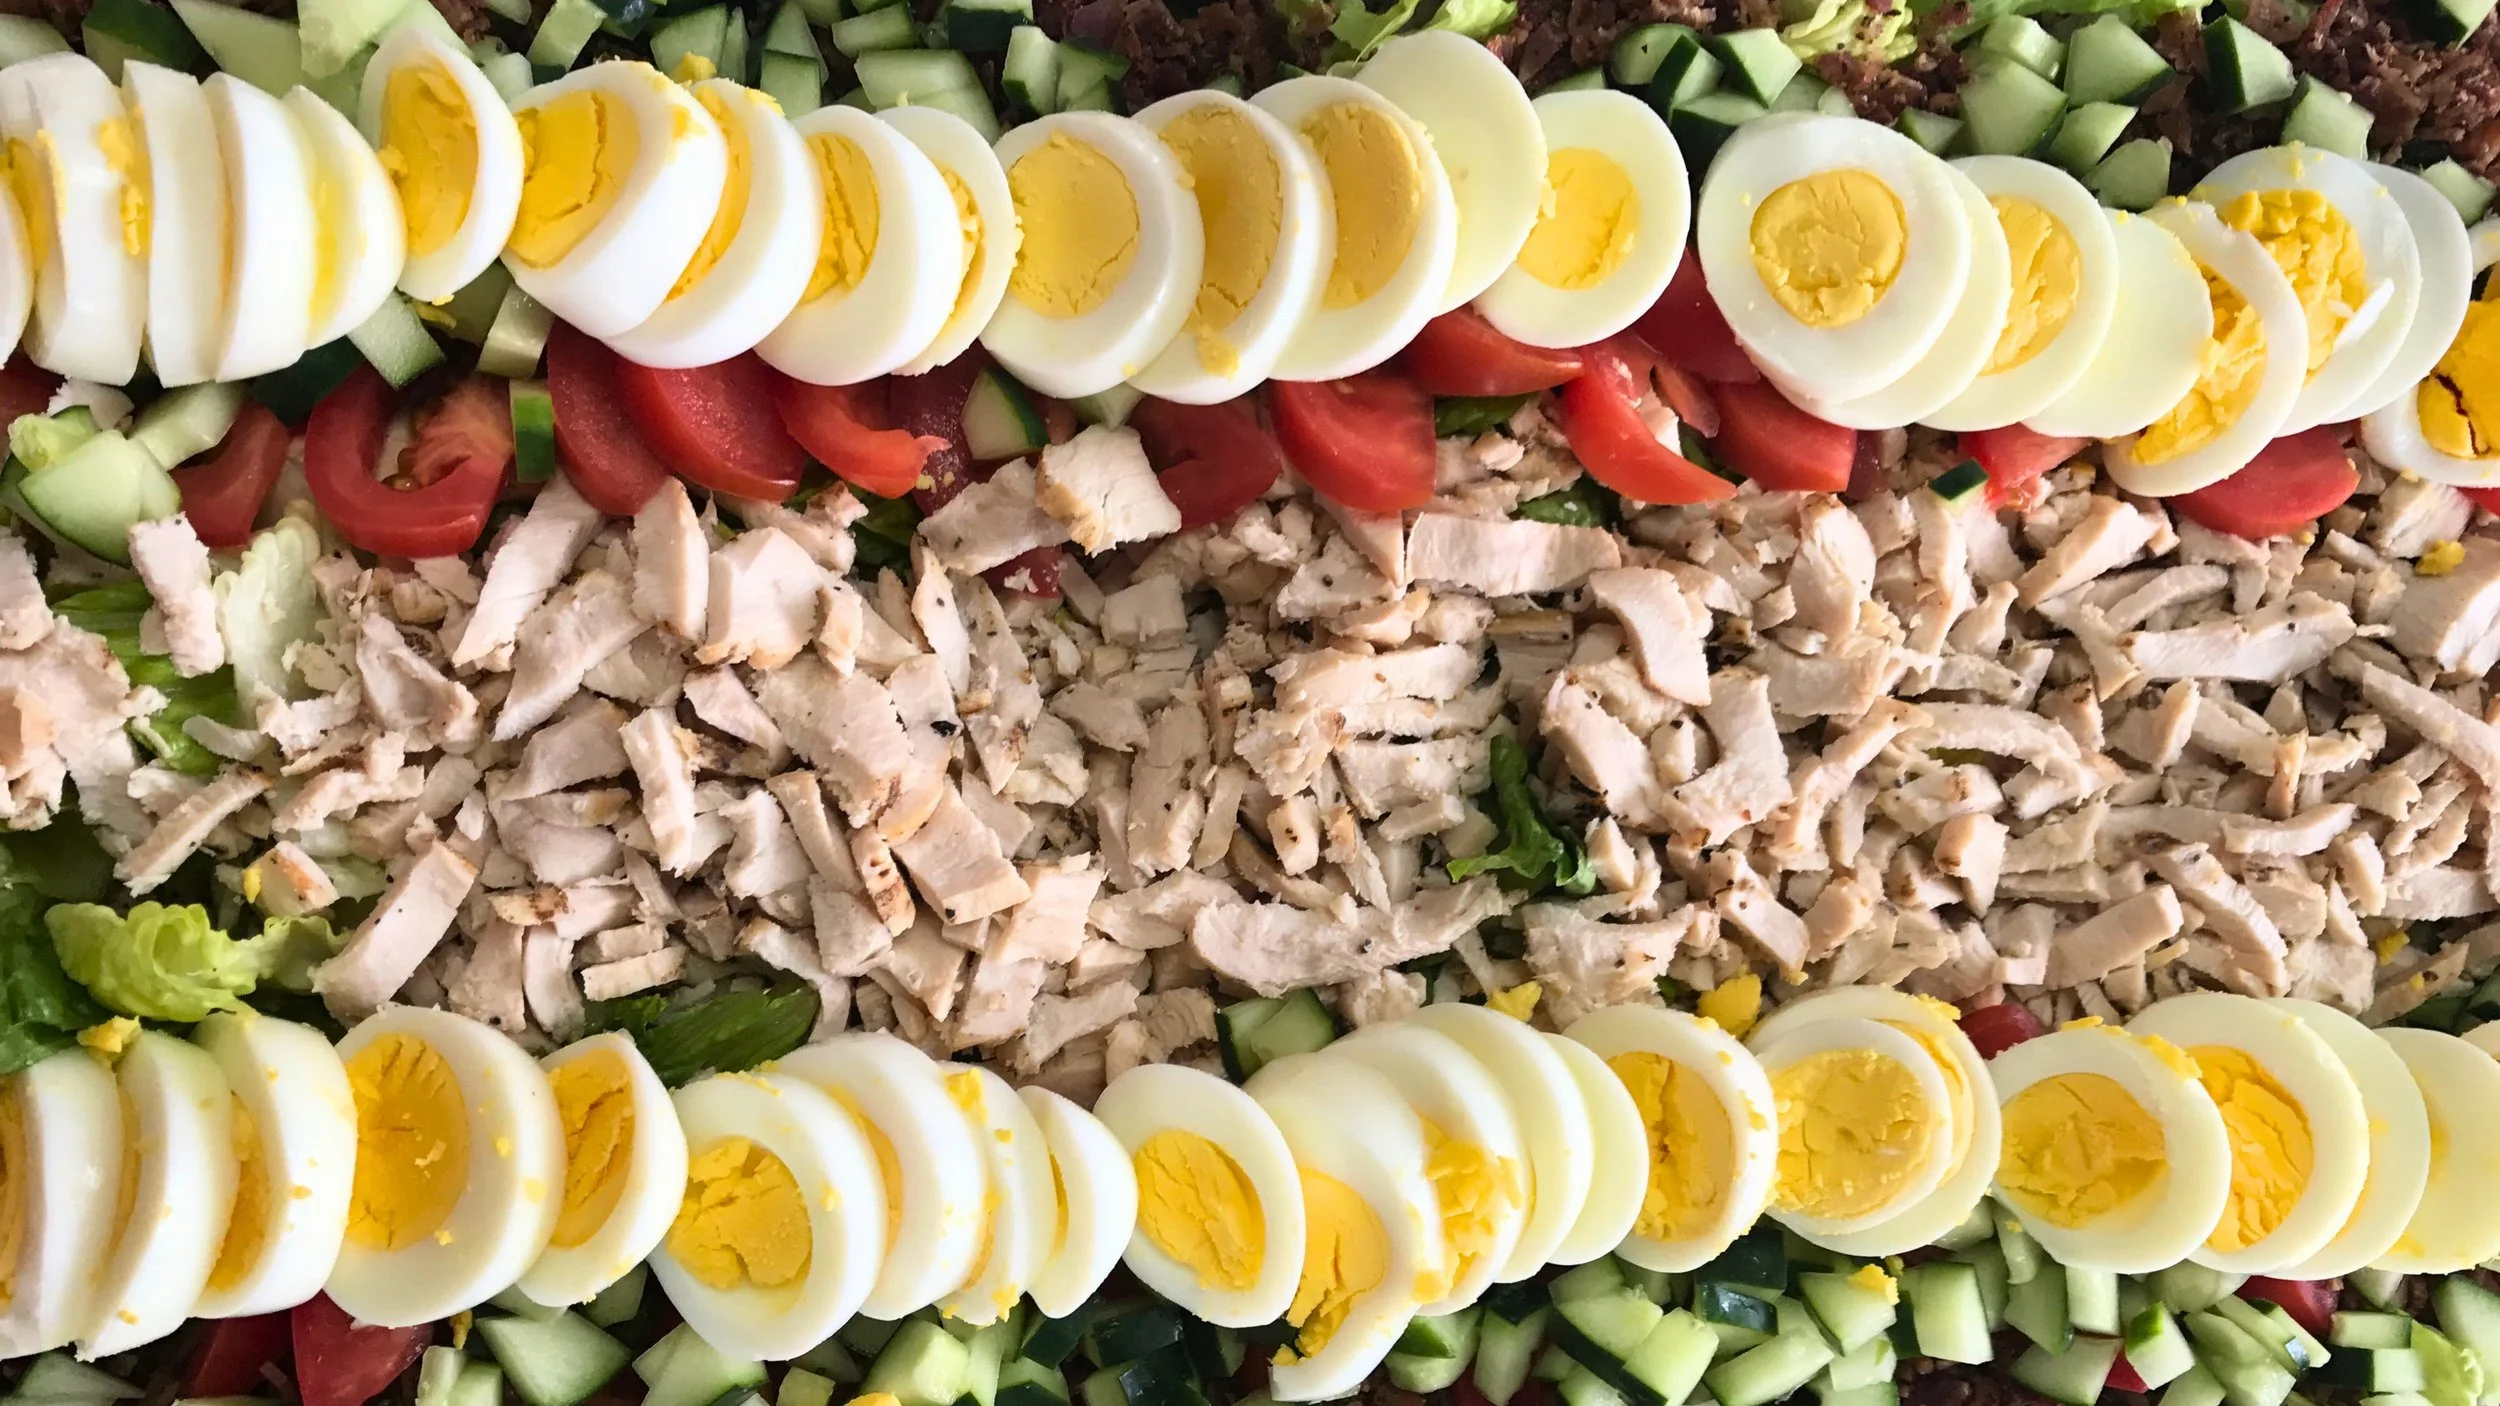
“Ask a friend to help you! I’m not the best at asking for help - and honestly not the best at acting out this advice - but the times I’ve asked or had a friend offer to work with me not only helps knock out some weeds, it’s also been a great way to spend time together and share some veggies. The best times have been when we can cook a meal together afterward.”
4. Remember why You Work
“I’m motivated by thinking about how growing food is an act of resilience! The more that I practice and share in the practice with others, the more knowledge and experience I can hold and share with future generations.
For me, getting in my garden after I work is a way to decompress and to be present and engaged with my surroundings. It’s something that makes me feel alive. So, that’s pretty motivating, too!”
Why do you garden? What keeps you motivated? Let us know in the comments!
If you don’t have a garden of your own and feel inspired to dig your hands into the dirt, we welcome you to volunteer with us! Click here to learn more about volunteering in our garden as either an individual or a group.
Understanding Garden Pests
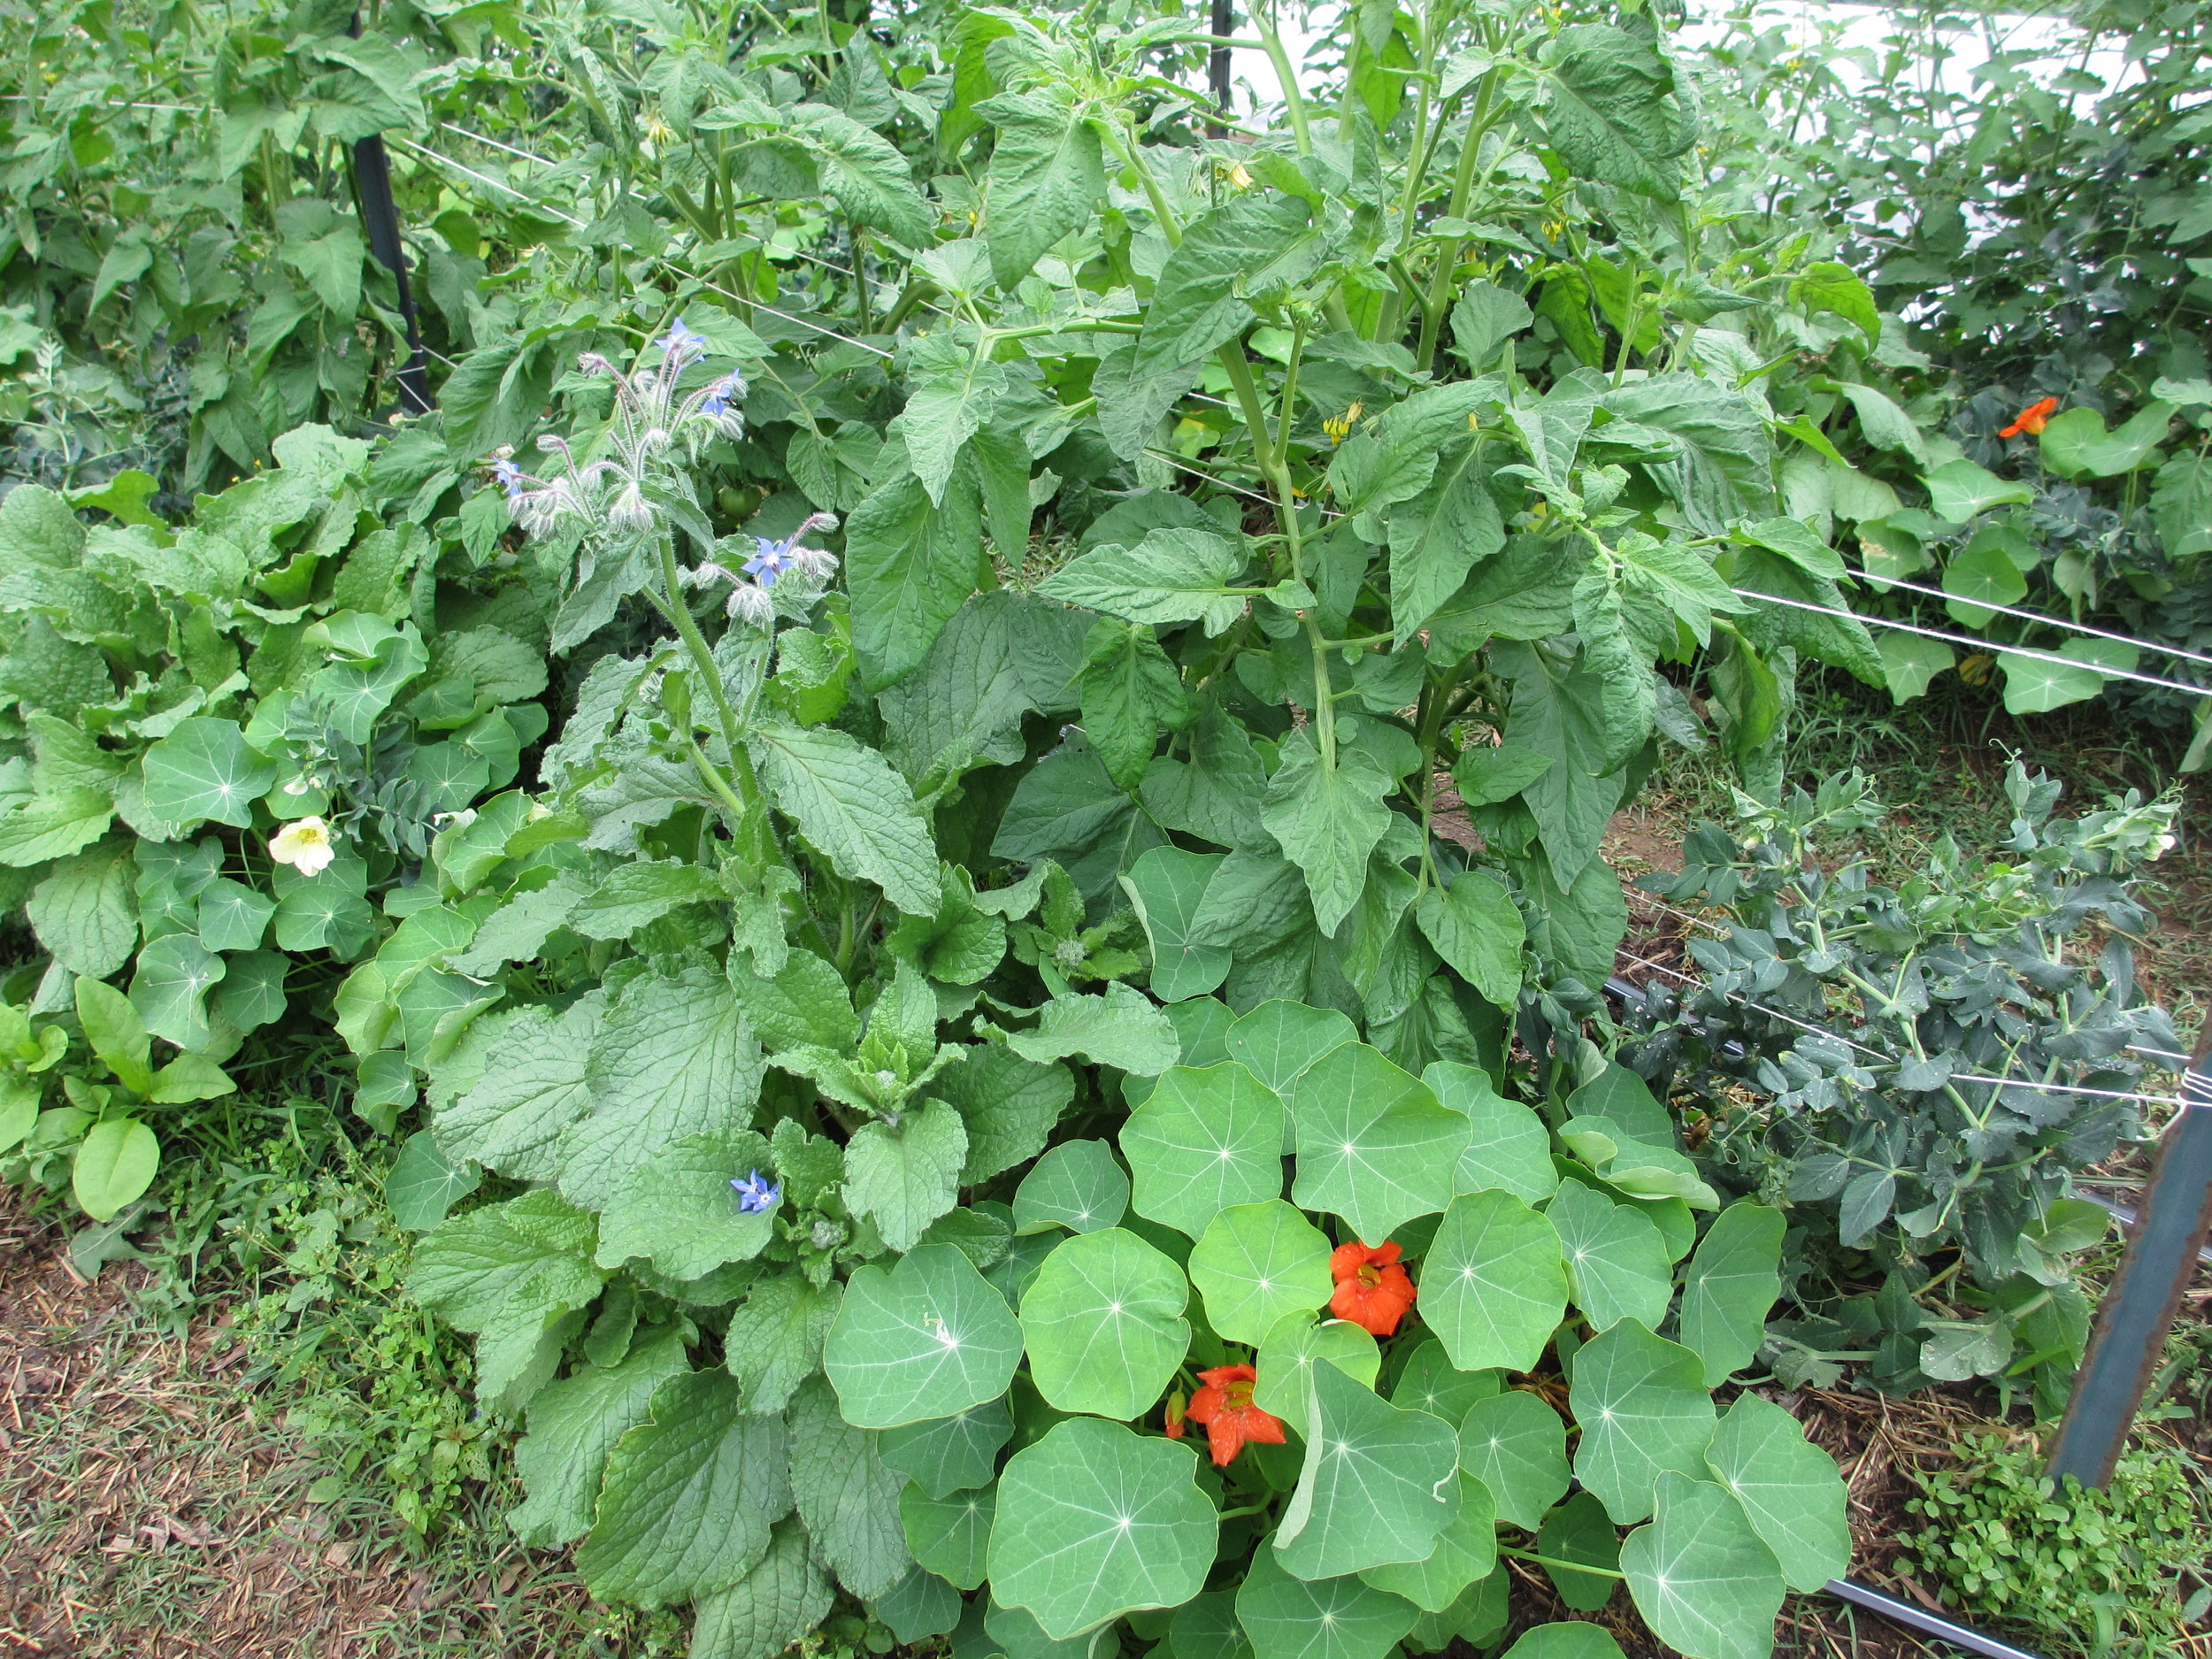
It’s a beautiful spring day, and neighbors are gathering for garden workshop at the Wedgewood Urban Garden, an urban oasis tucked off of Wedgewood Avenue near the Tennessee State Fairgrounds. Today, we’re learning about garden pests. Whether it’s aphids or caterpillar worms, many gardeners can relate to pest problems. At TNFP gardens, we’re using and encouraging an approach to natural pest control called Integrated Pest Management…
By Grace Biggs, Impact Manager

It’s a beautiful spring day, and neighbors are gathering at the Wedgewood Urban Garden, an urban oasis tucked off of Wedgewood Avenue near the Tennessee State Fairgrounds. Since The Nashville Food Project undertook management of the space in 2011, hundreds of Nashvillians have grown their own food in community at the garden.
There are many different methods utilized to establish community gardens. Here at TNFP, gardeners manage their own individual or family plots. With the support of monthly garden trainings and community work days combined with assistance from TNFP garden staff and community leaders, each gardener is well equipped and supported for a successful growing season. So far there are 25 people who have signed up for a plot at the Wedgewood Urban Garden. This includes both new and long-time Wedgewood-Houston neighbors, as well as families who came to the United States as refugees from Bhutan.
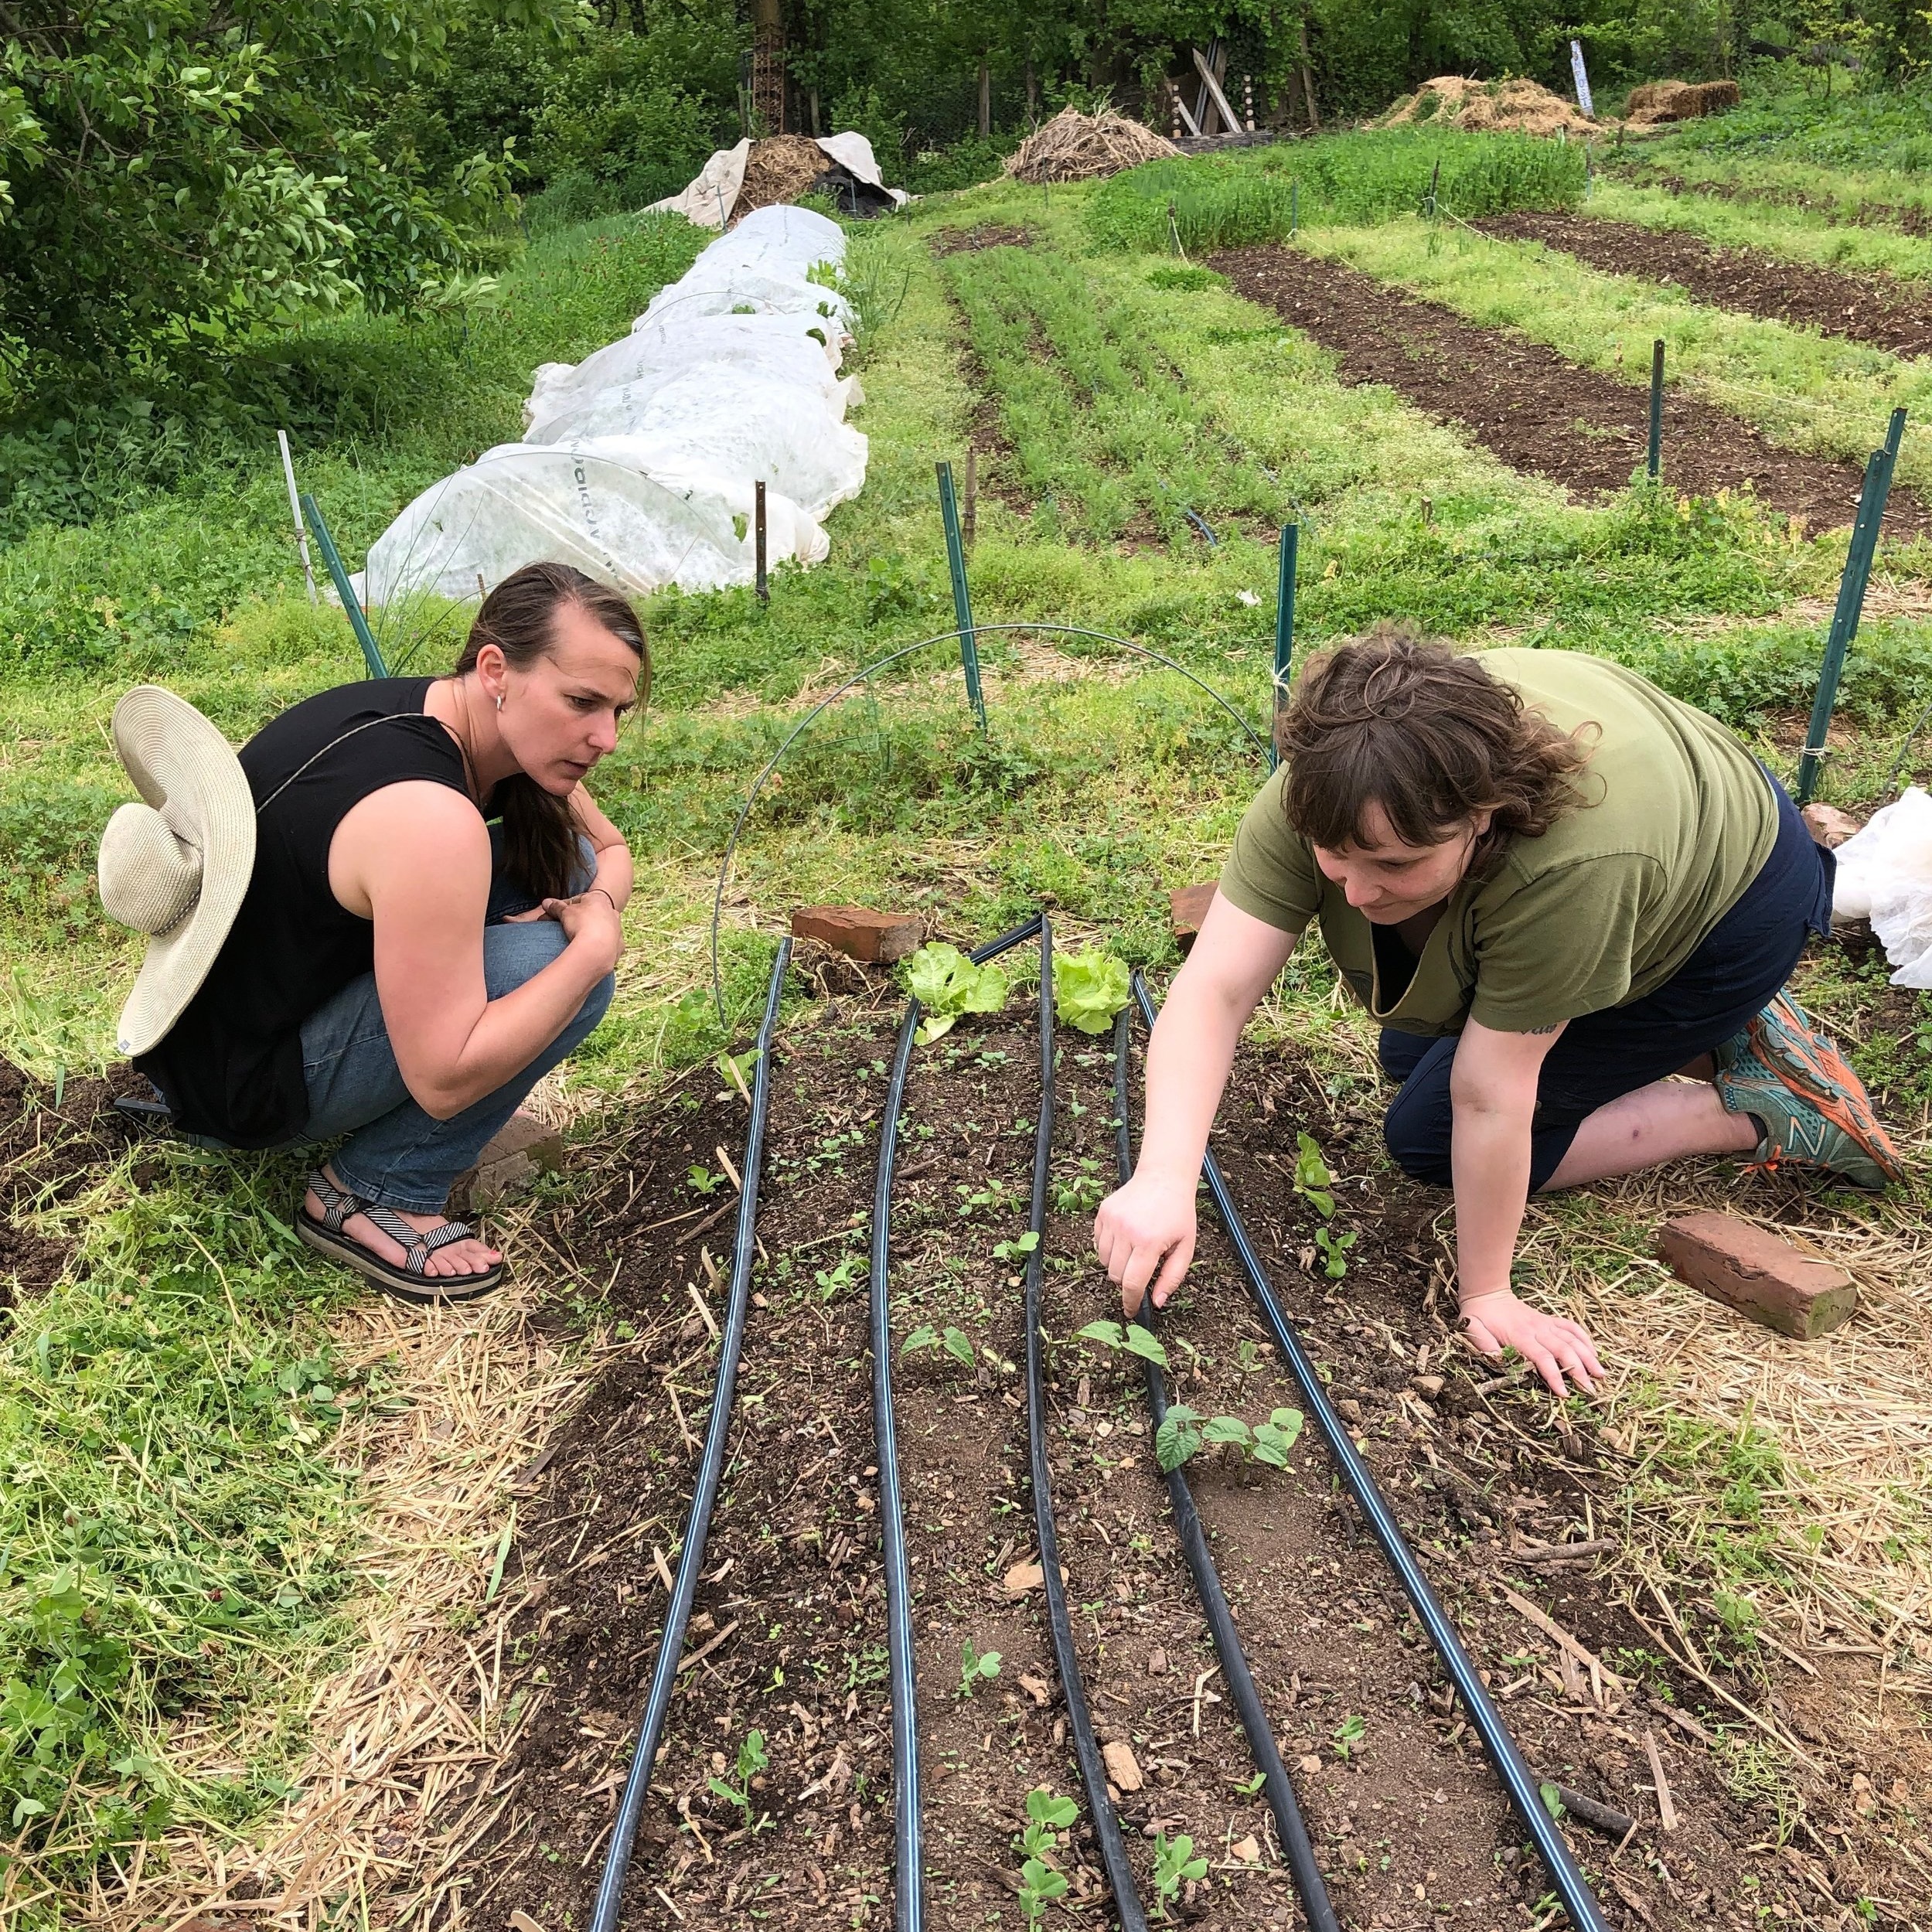
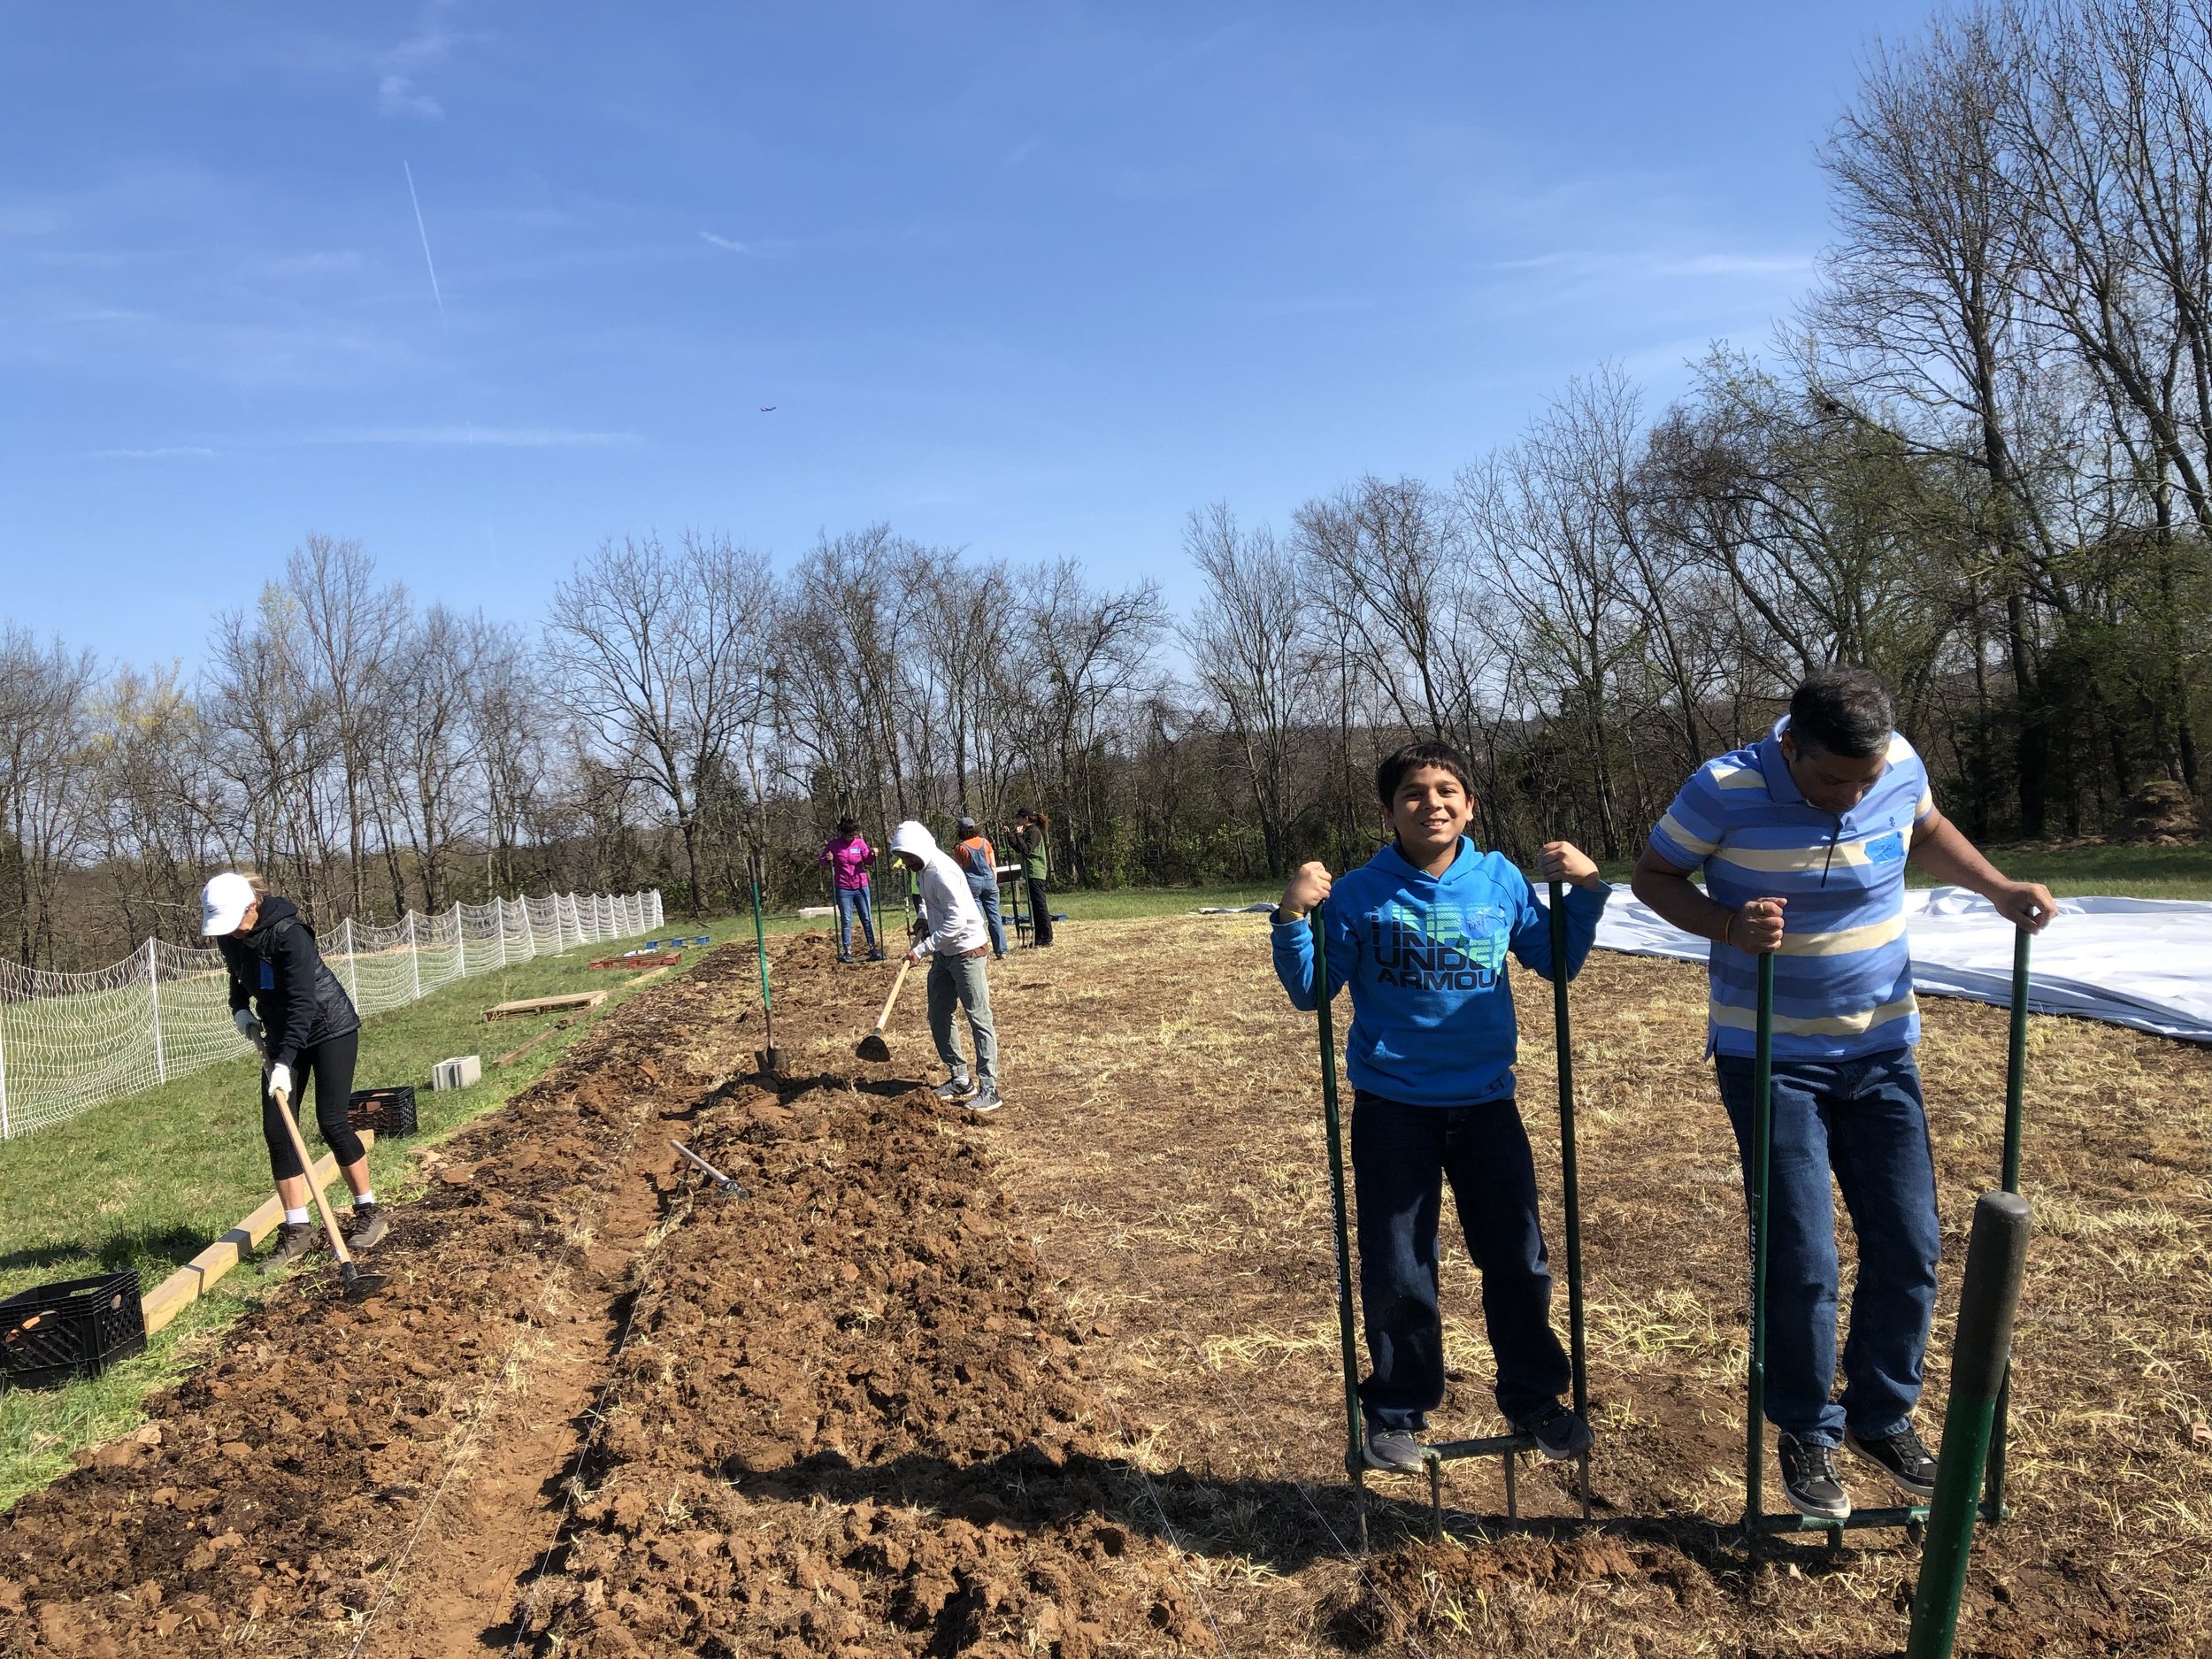
Today, I’m joining the neighborhood gardeners for their monthly garden training. As I come up the hill to the upper garden, I see a few gardeners have arrived and are already working. Some are tending to their young spring crops while others are just starting their garden journey and are preparing their beds for planting. As I walk around, I get the run-down on what people have planted: arugula, collards, radishes, carrots, bush beans, snap peas… the list goes on!
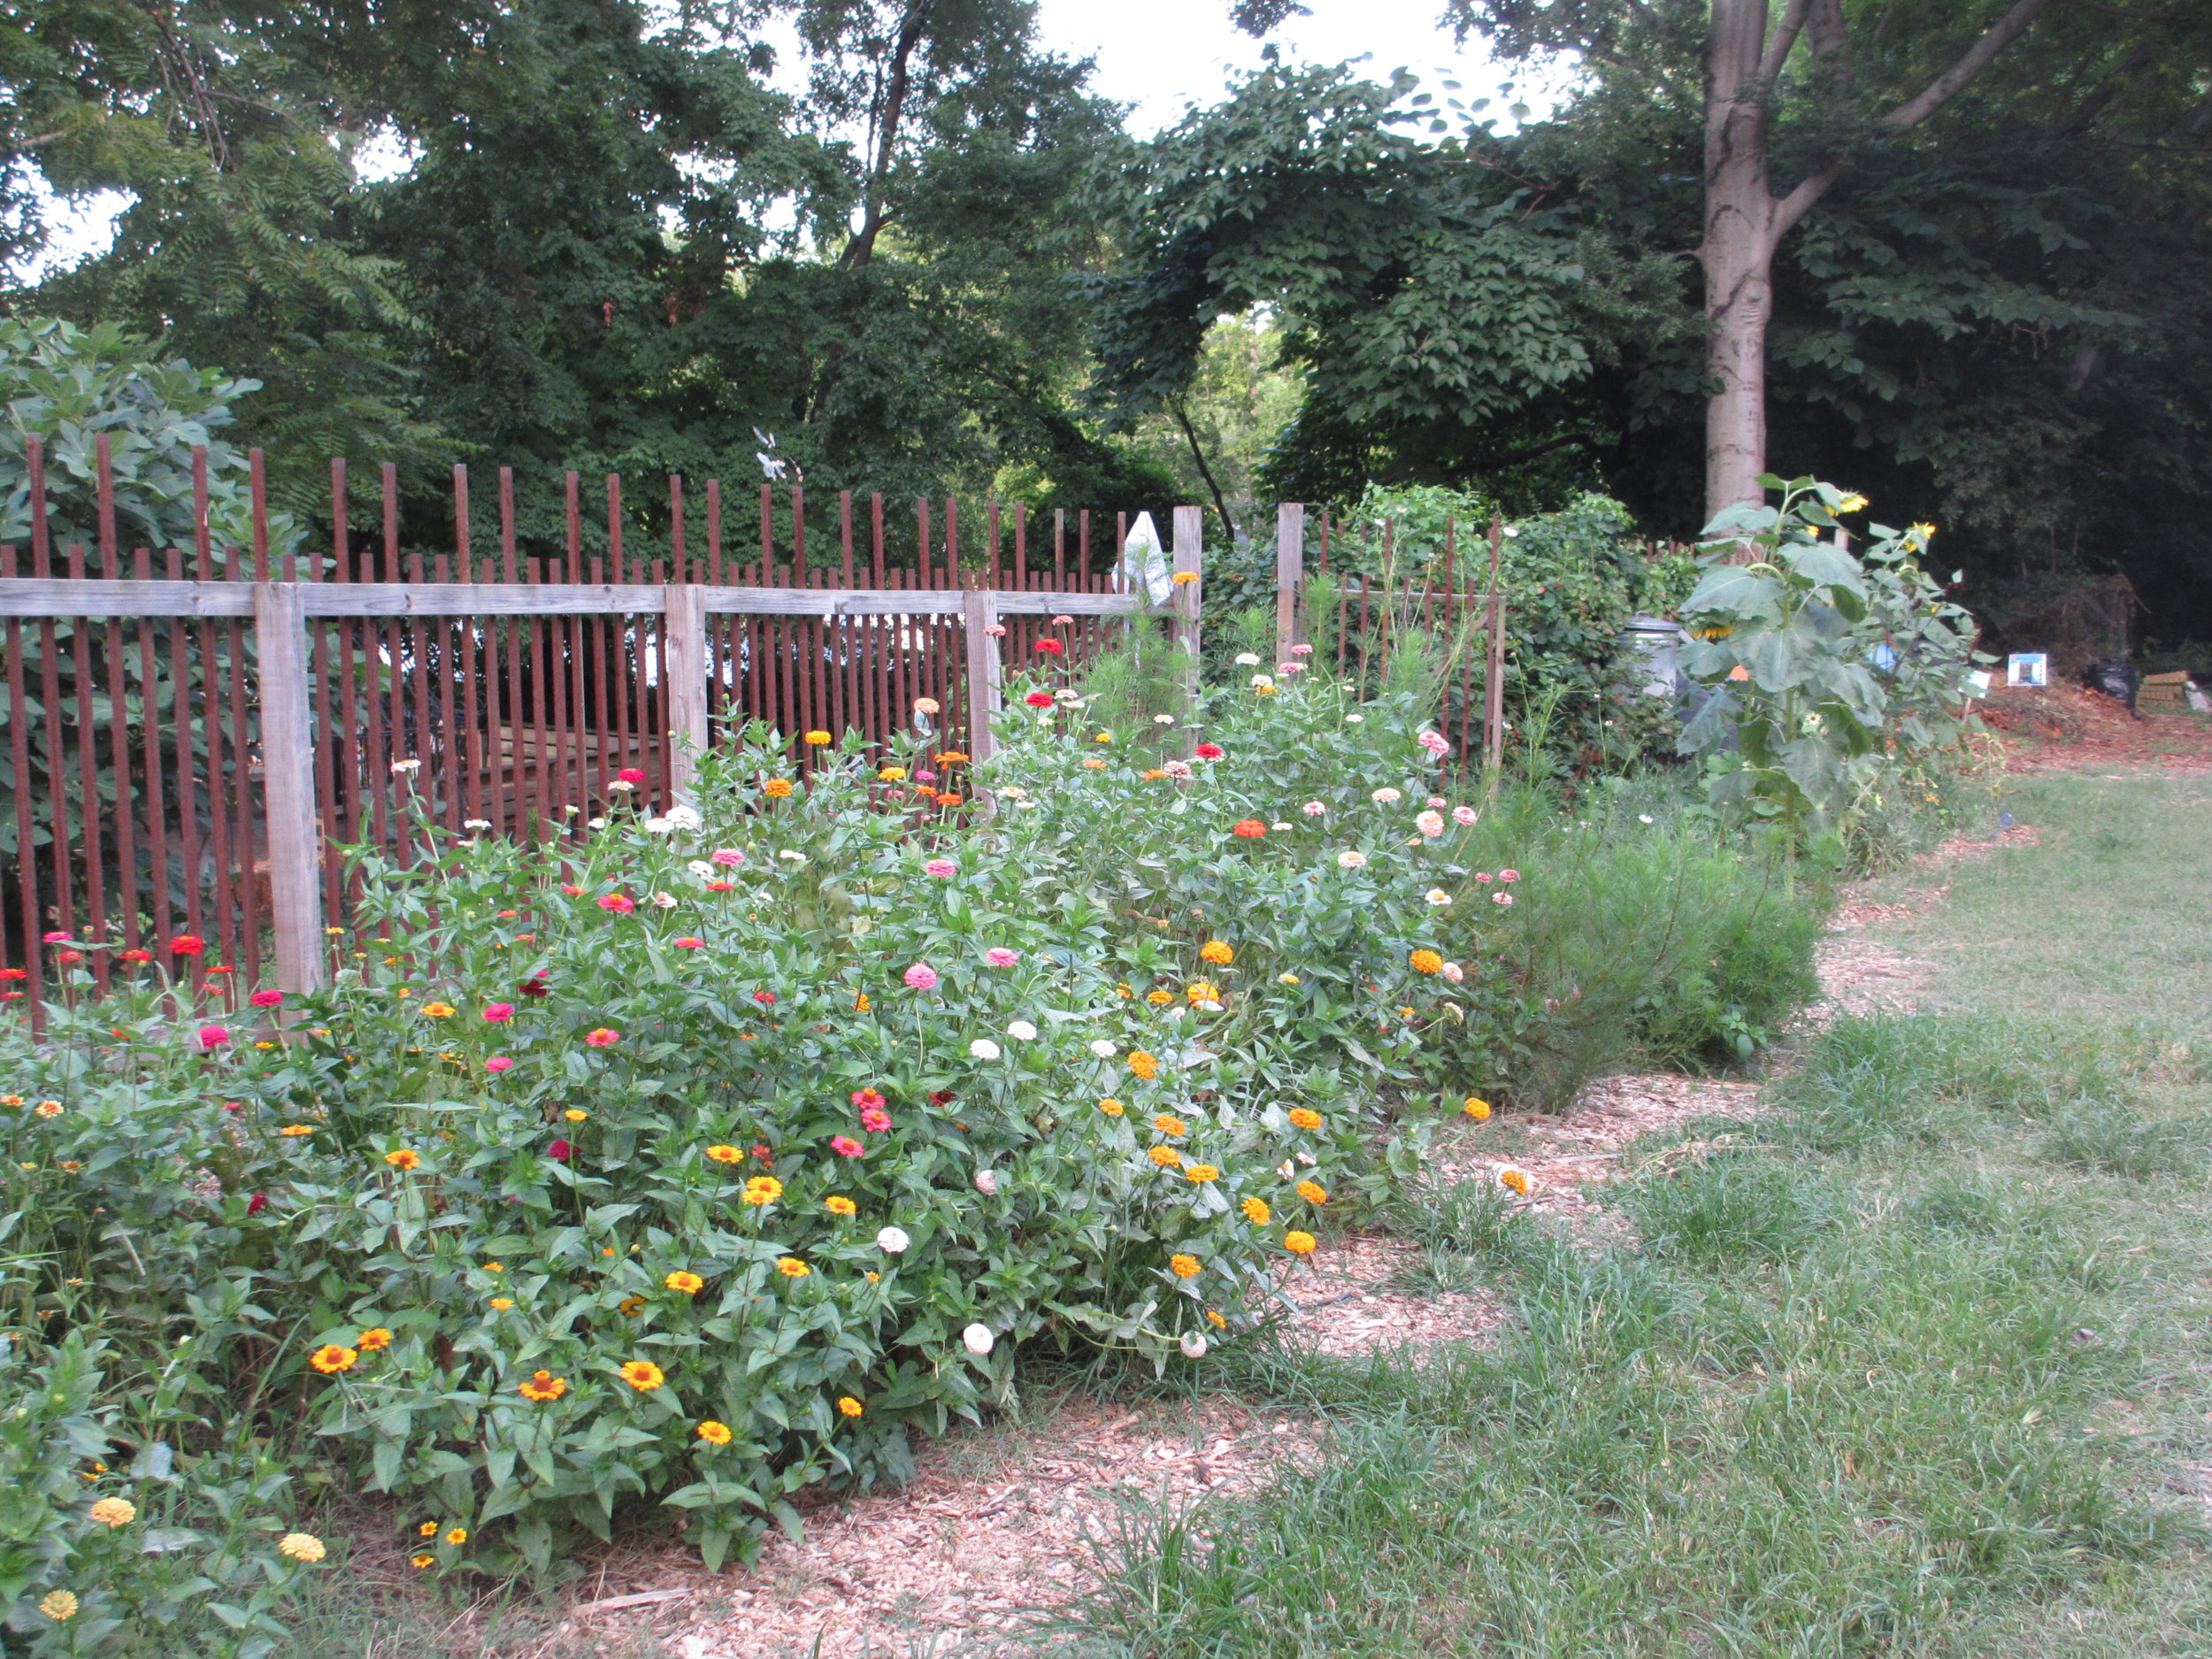
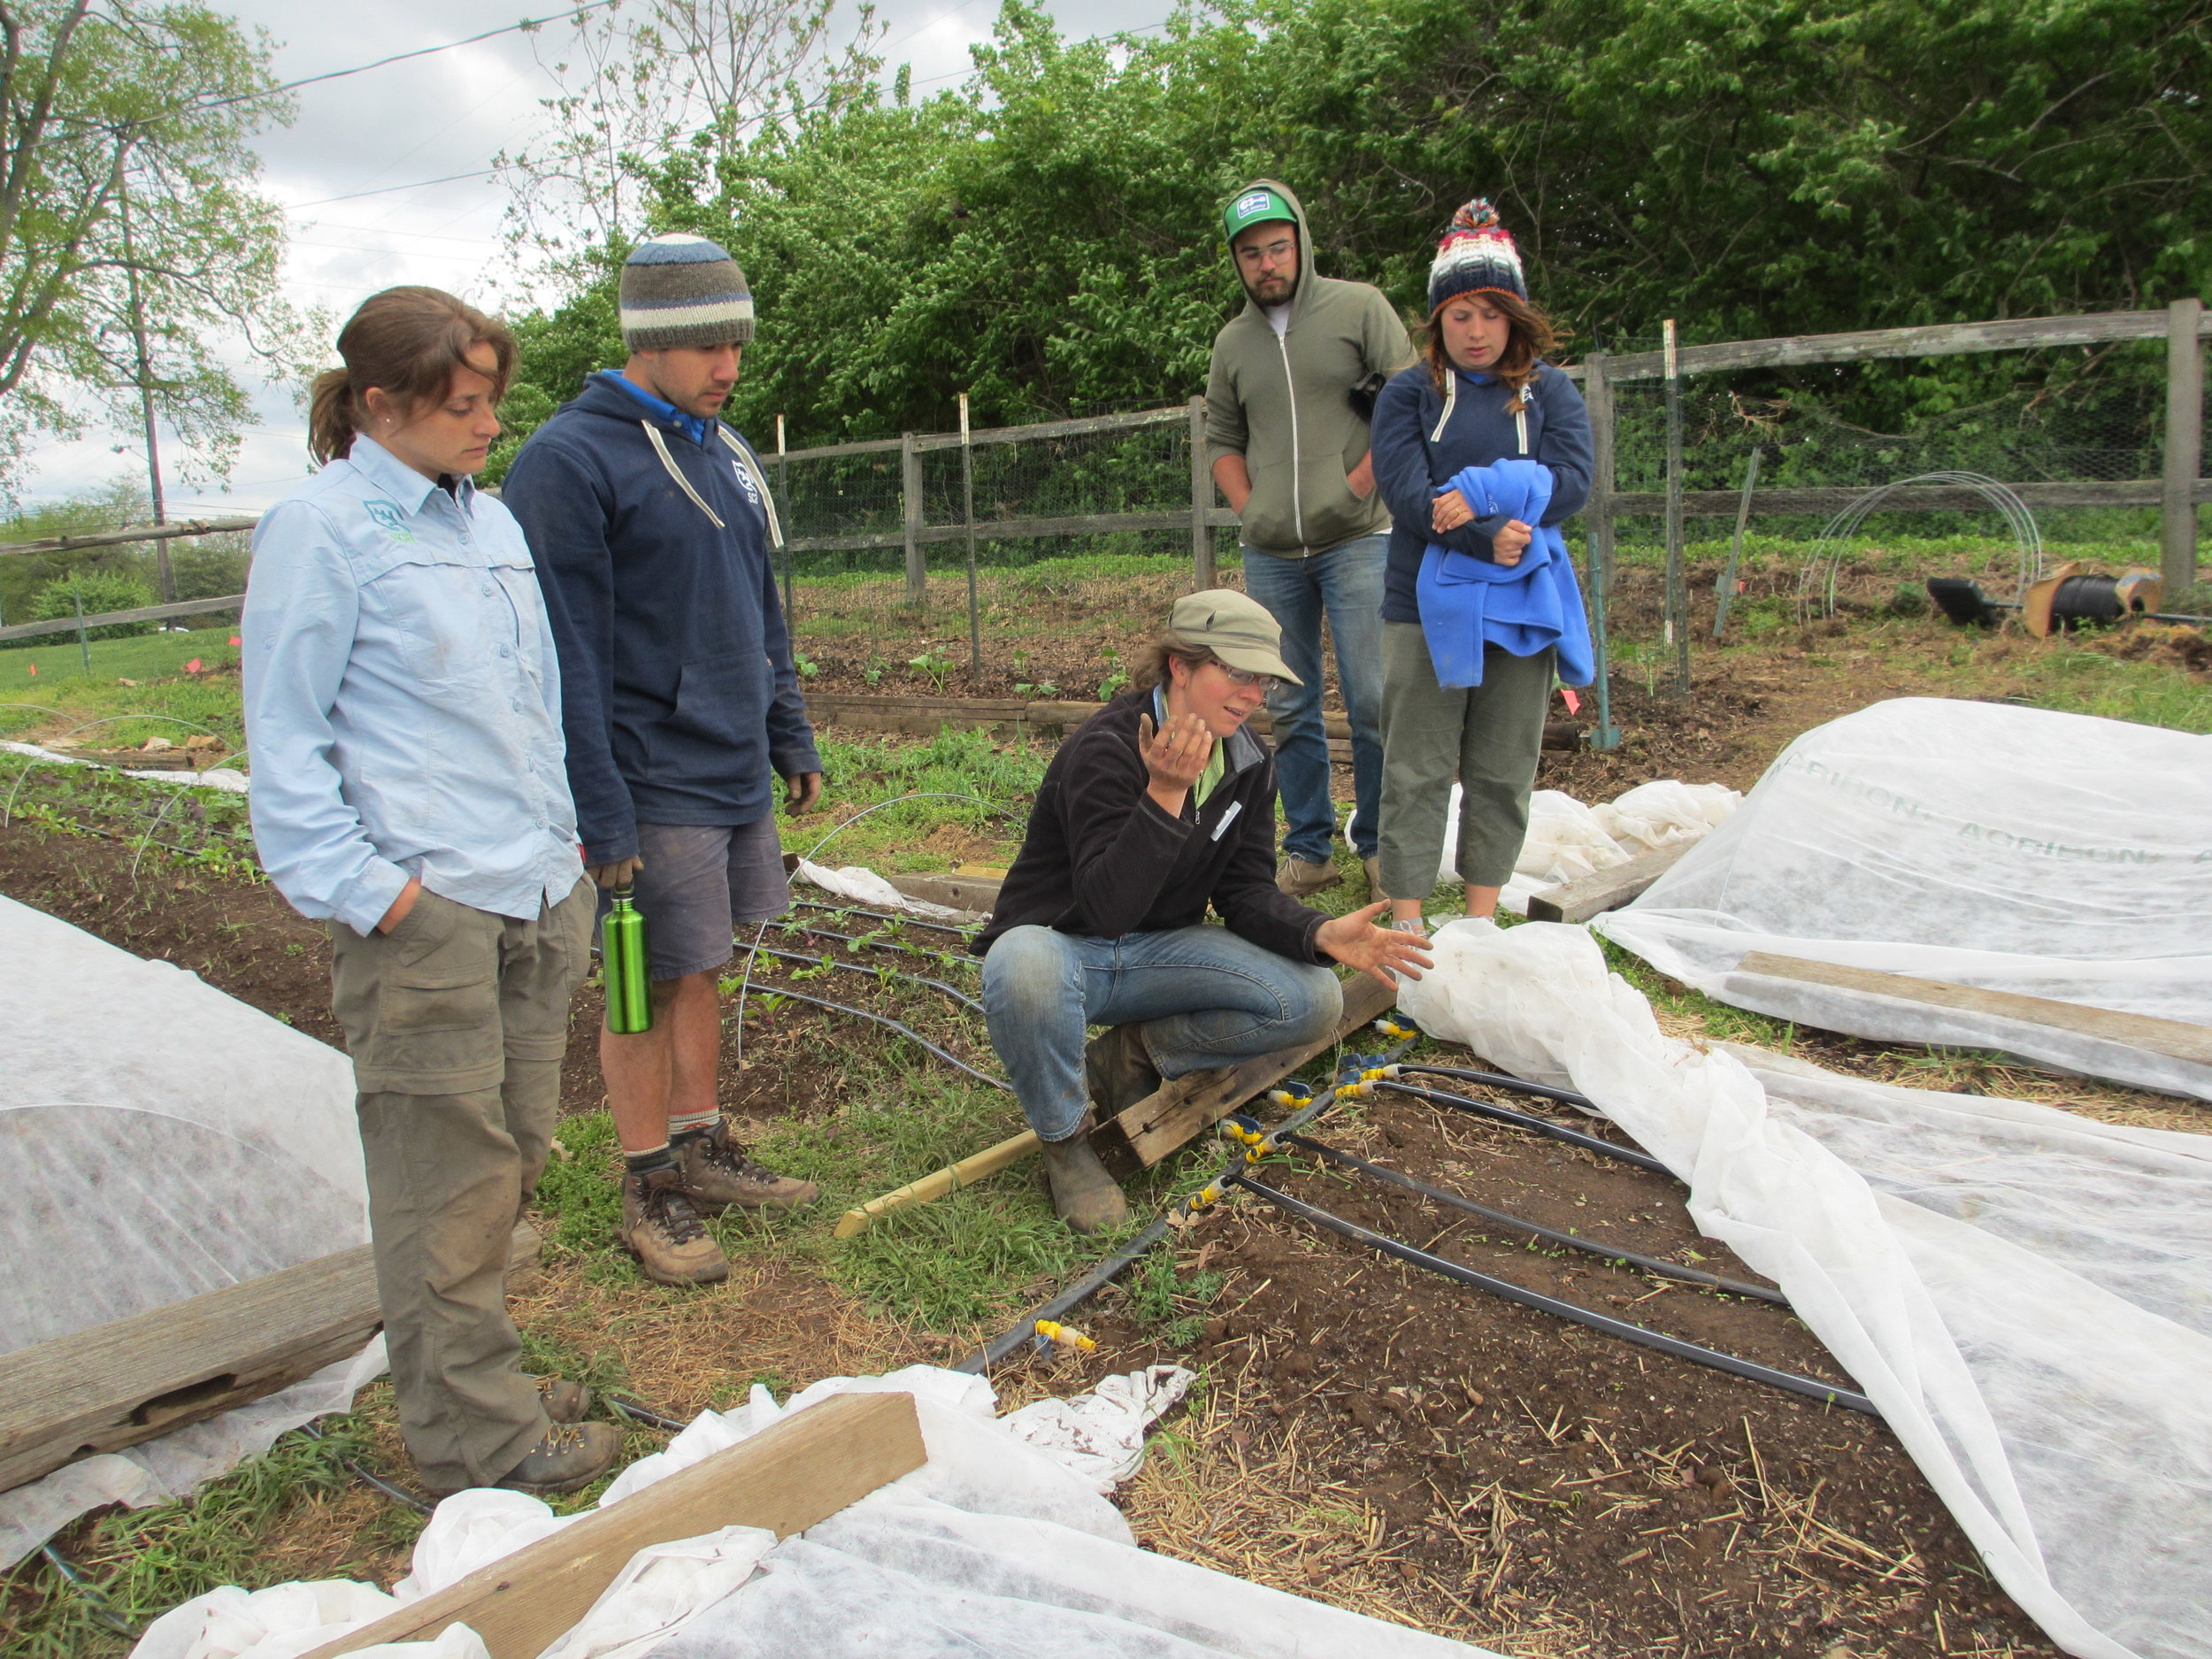
When it’s time to start the training, we head down to a shaded deck in the lower garden, surrounded by trees, perennial herbs and flowers. Lauren, TNFP’s Director of Garden Programs, uncovers a board with an outline on today’s topic: spring garden pests.

“There are some pests that will out-compete us if we don’t get ahead of the game,” Lauren begins as we settle in for the workshop. To start off, we went around the circle and shared about any past experiences we’d had with garden pests.
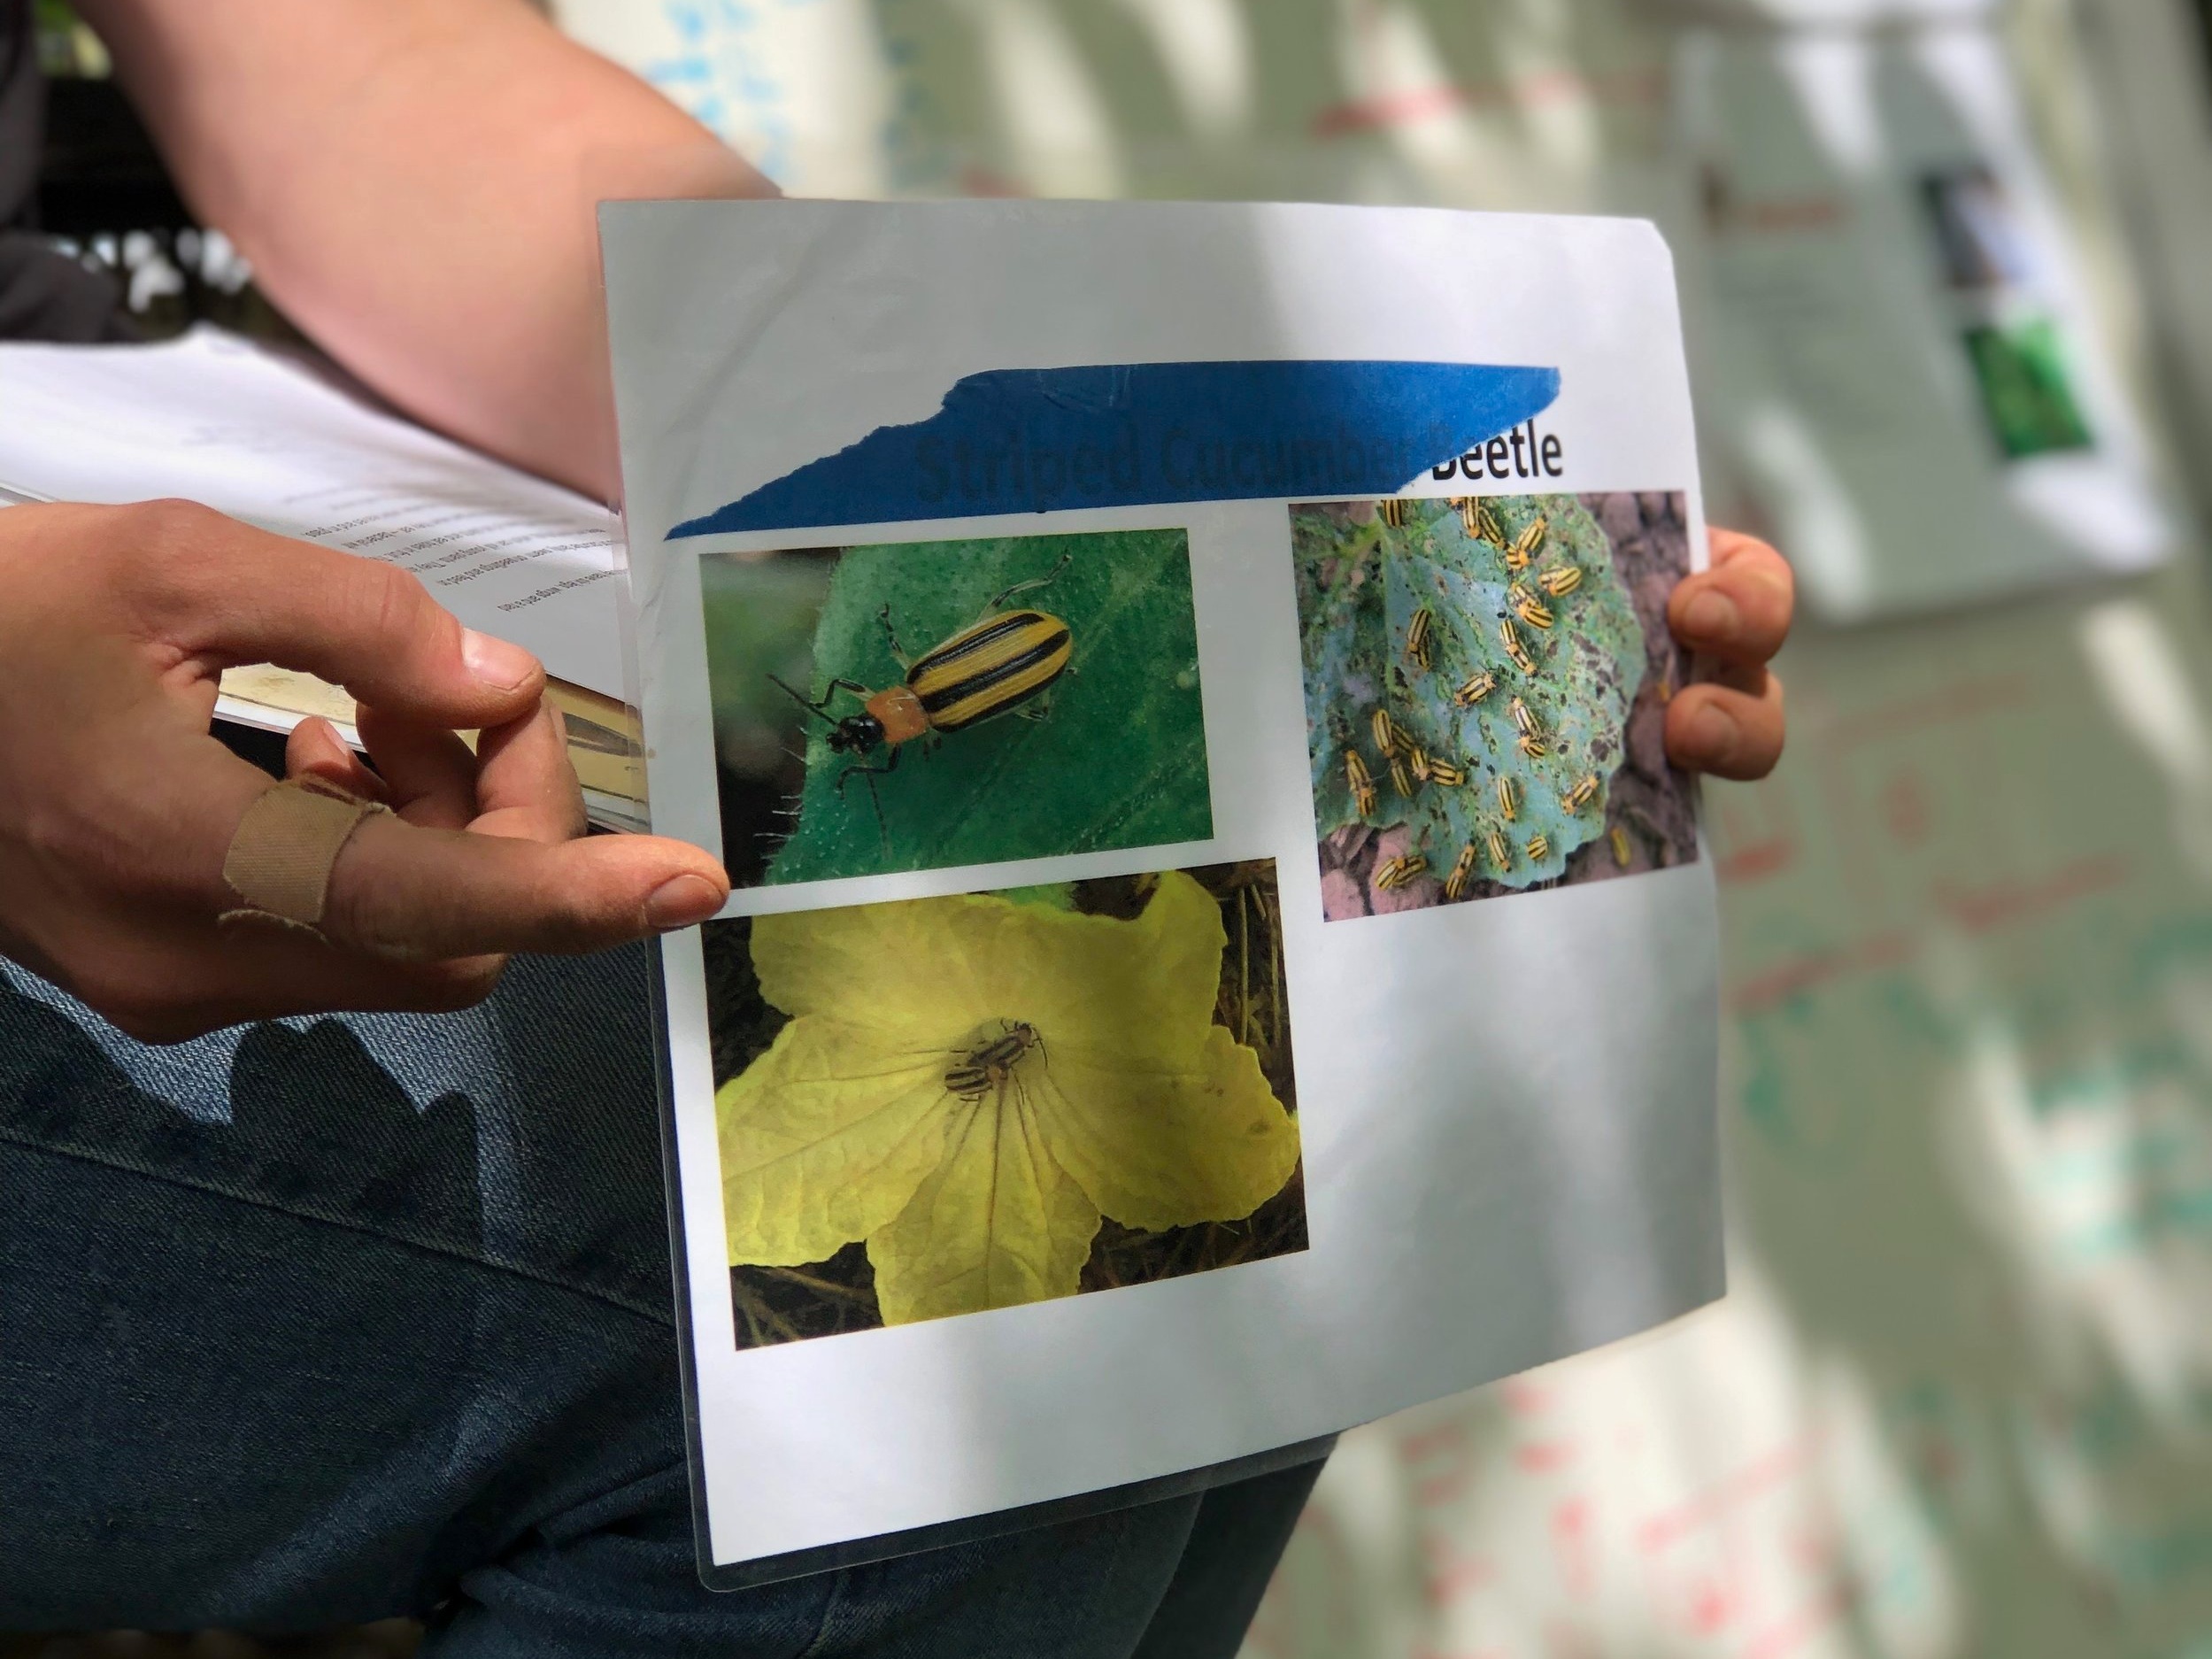
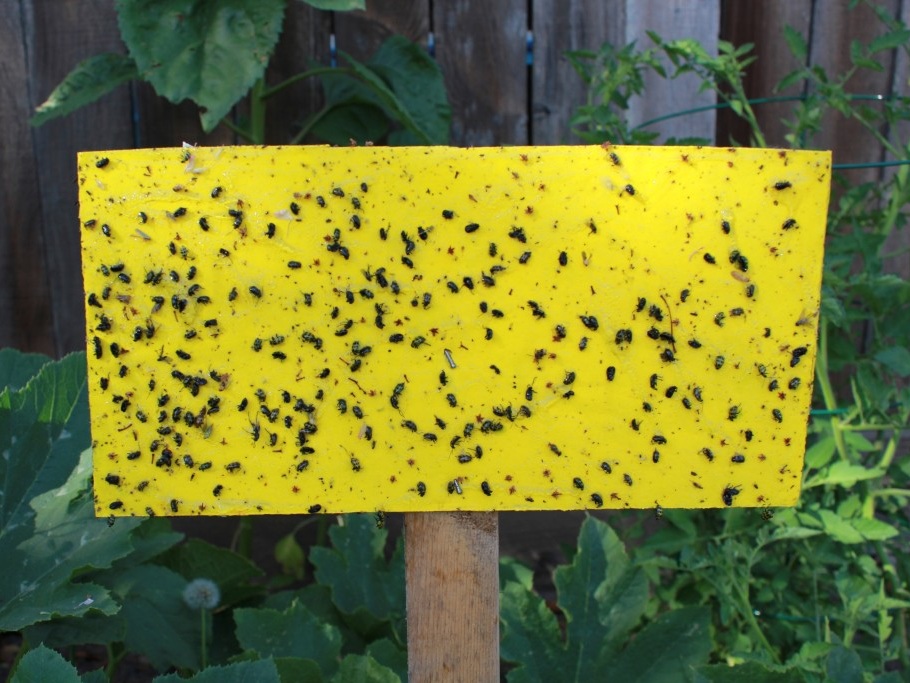
“I had a lot of beetles on my cucumbers last year,” said one gardener. “Never caught any in the act, just saw the evidence after.”
There were many nods of agreement as we took turns sharing our experiences. Whether it’s aphids or caterpillar worms, many gardeners can relate to pest problems.
So why not spray a chemical and be done with the problem?
The gardeners have agreed and are committed to only utilizing organic methods of gardening, which also includes pest control. Most chemical insecticides can’t target a particular kind of insect, so they kill not just the pests but their predators as well. That means, ironically, that these pests can easily return -- unless you spray again, and again.
At TNFP gardens, we’re using and encouraging an approach to natural pest control called Integrated Pest Management. Lauren broke it down for us into four steps: 1) identifying and understanding the pest, 2) prevent, 3) physical control, and 4) organic chemical control.
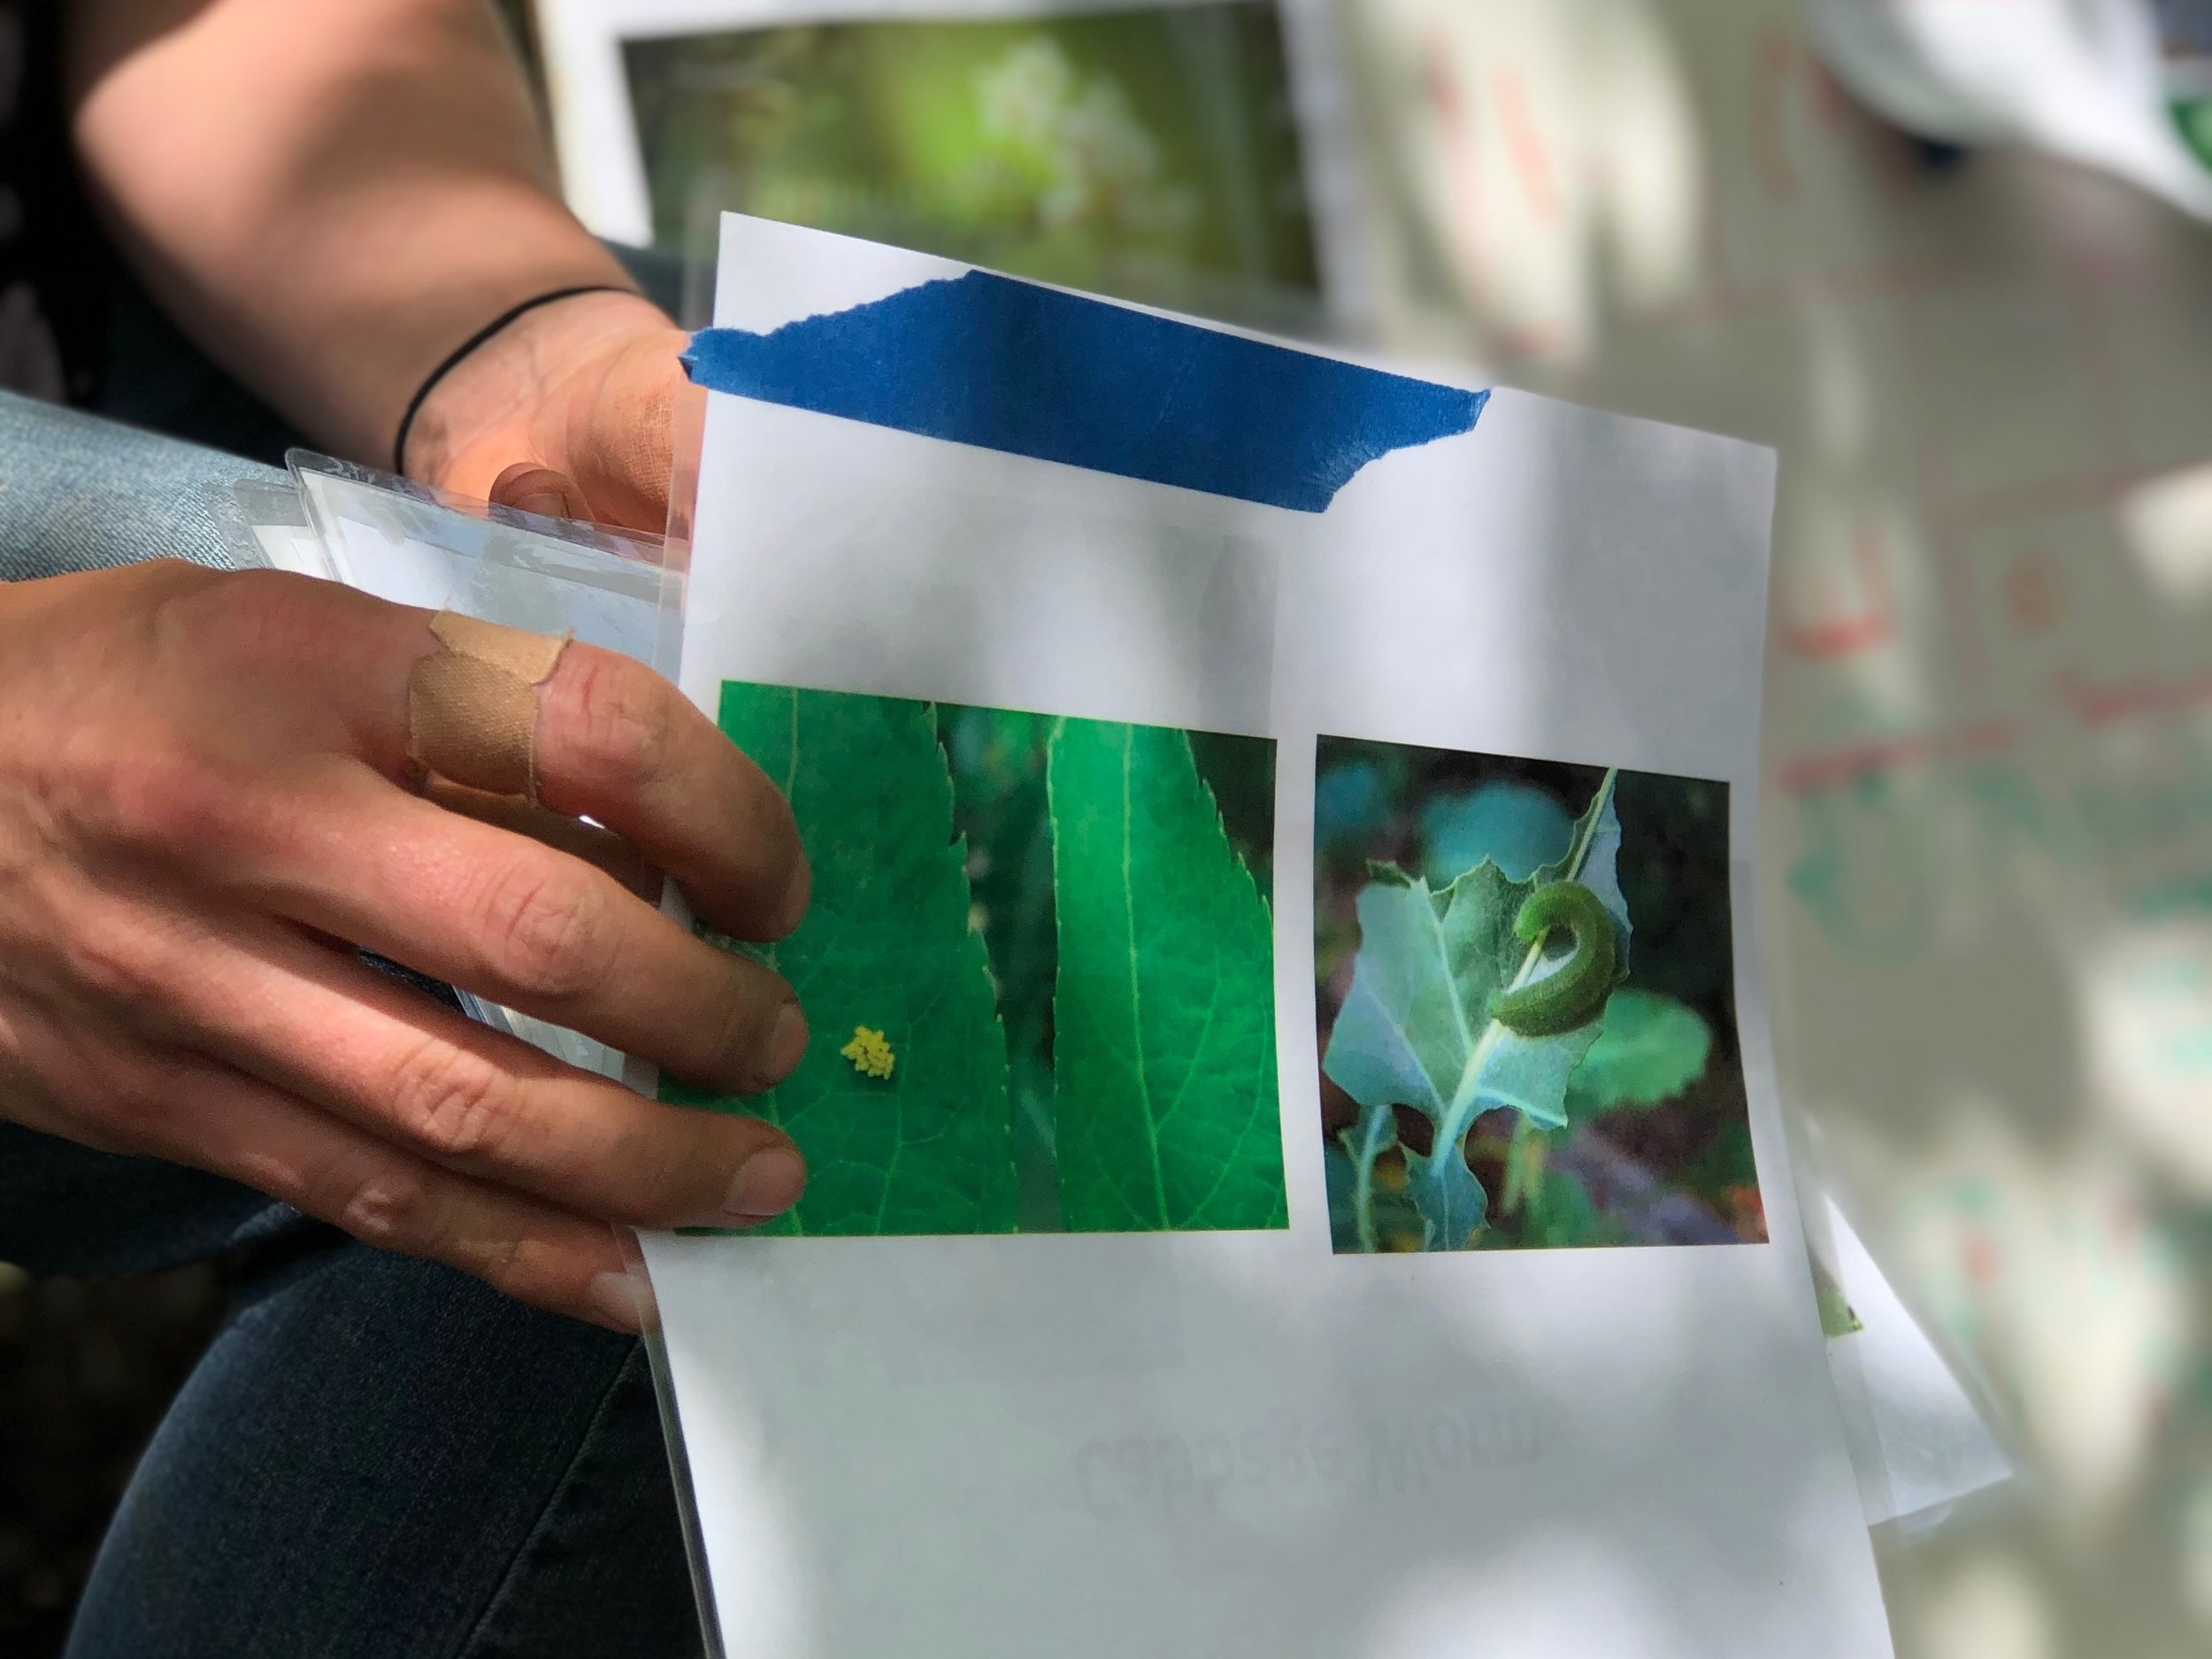
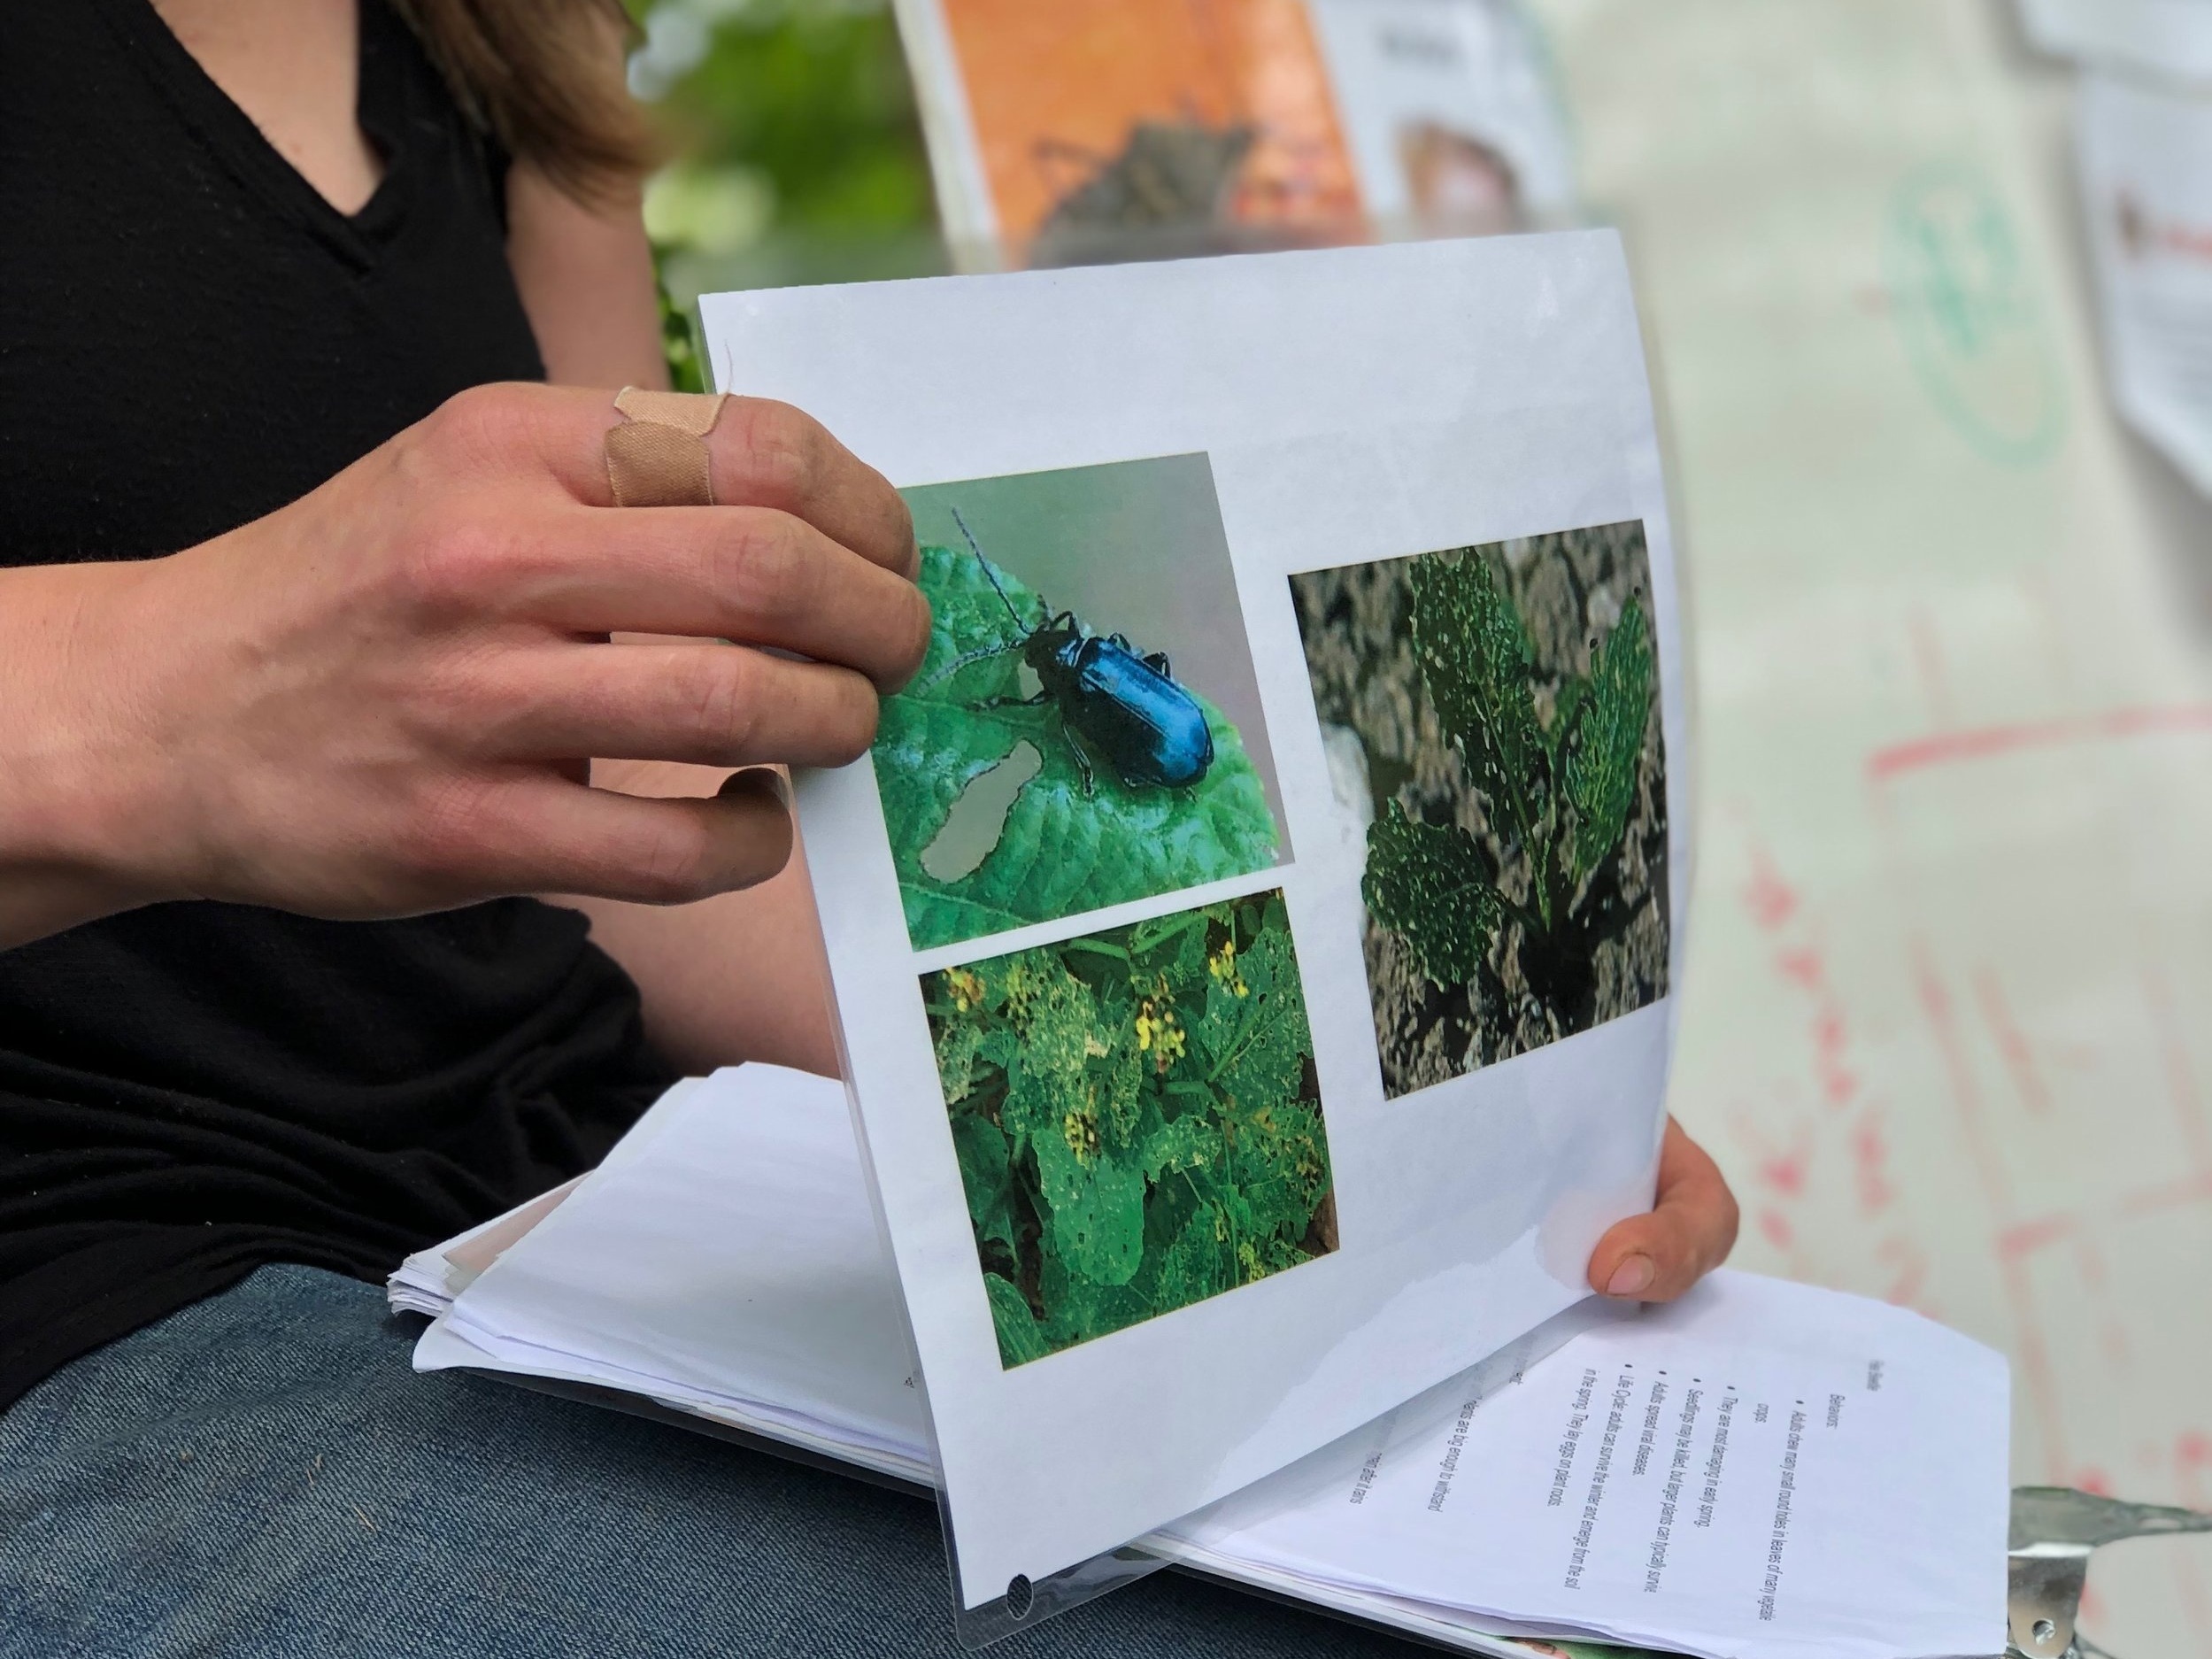
1) Identifying and understanding the Pest
“When you’re able to identify the pest and understand their behavior, it’s like knowing your enemy. If you know their behavior, you’re better able to stay one step ahead.”
Identifying and understanding the pests in your garden is the foundation of integrated pest management. If you’re trying to identify a pest in your garden, these questions can often help get you there…
What does it eat?
What does it look like or how does it behave?
What kind of insect is it? A beetle, bug, caterpillar or worm, or maggot?
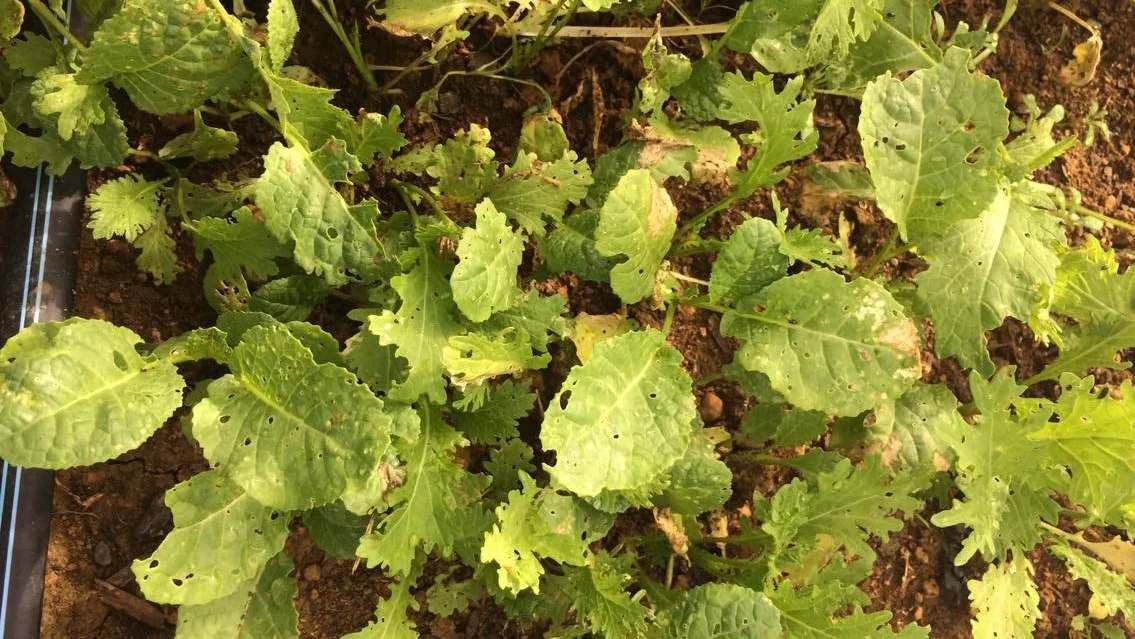
Click through the photos below for some examples of spring pests and their behavior.

2) Prevent
Now that you’ve identified and understand the behavior of the pest, you can prevent! Being prepared for pests and doing what you can to discourage them can save your plants from damage and lessens the need for other controls later on.
There are lots of approaches to both long and short-term prevention that you can apply to your garden. Click through the photos below for some examples!
Long term prevention:

Short term prevention:
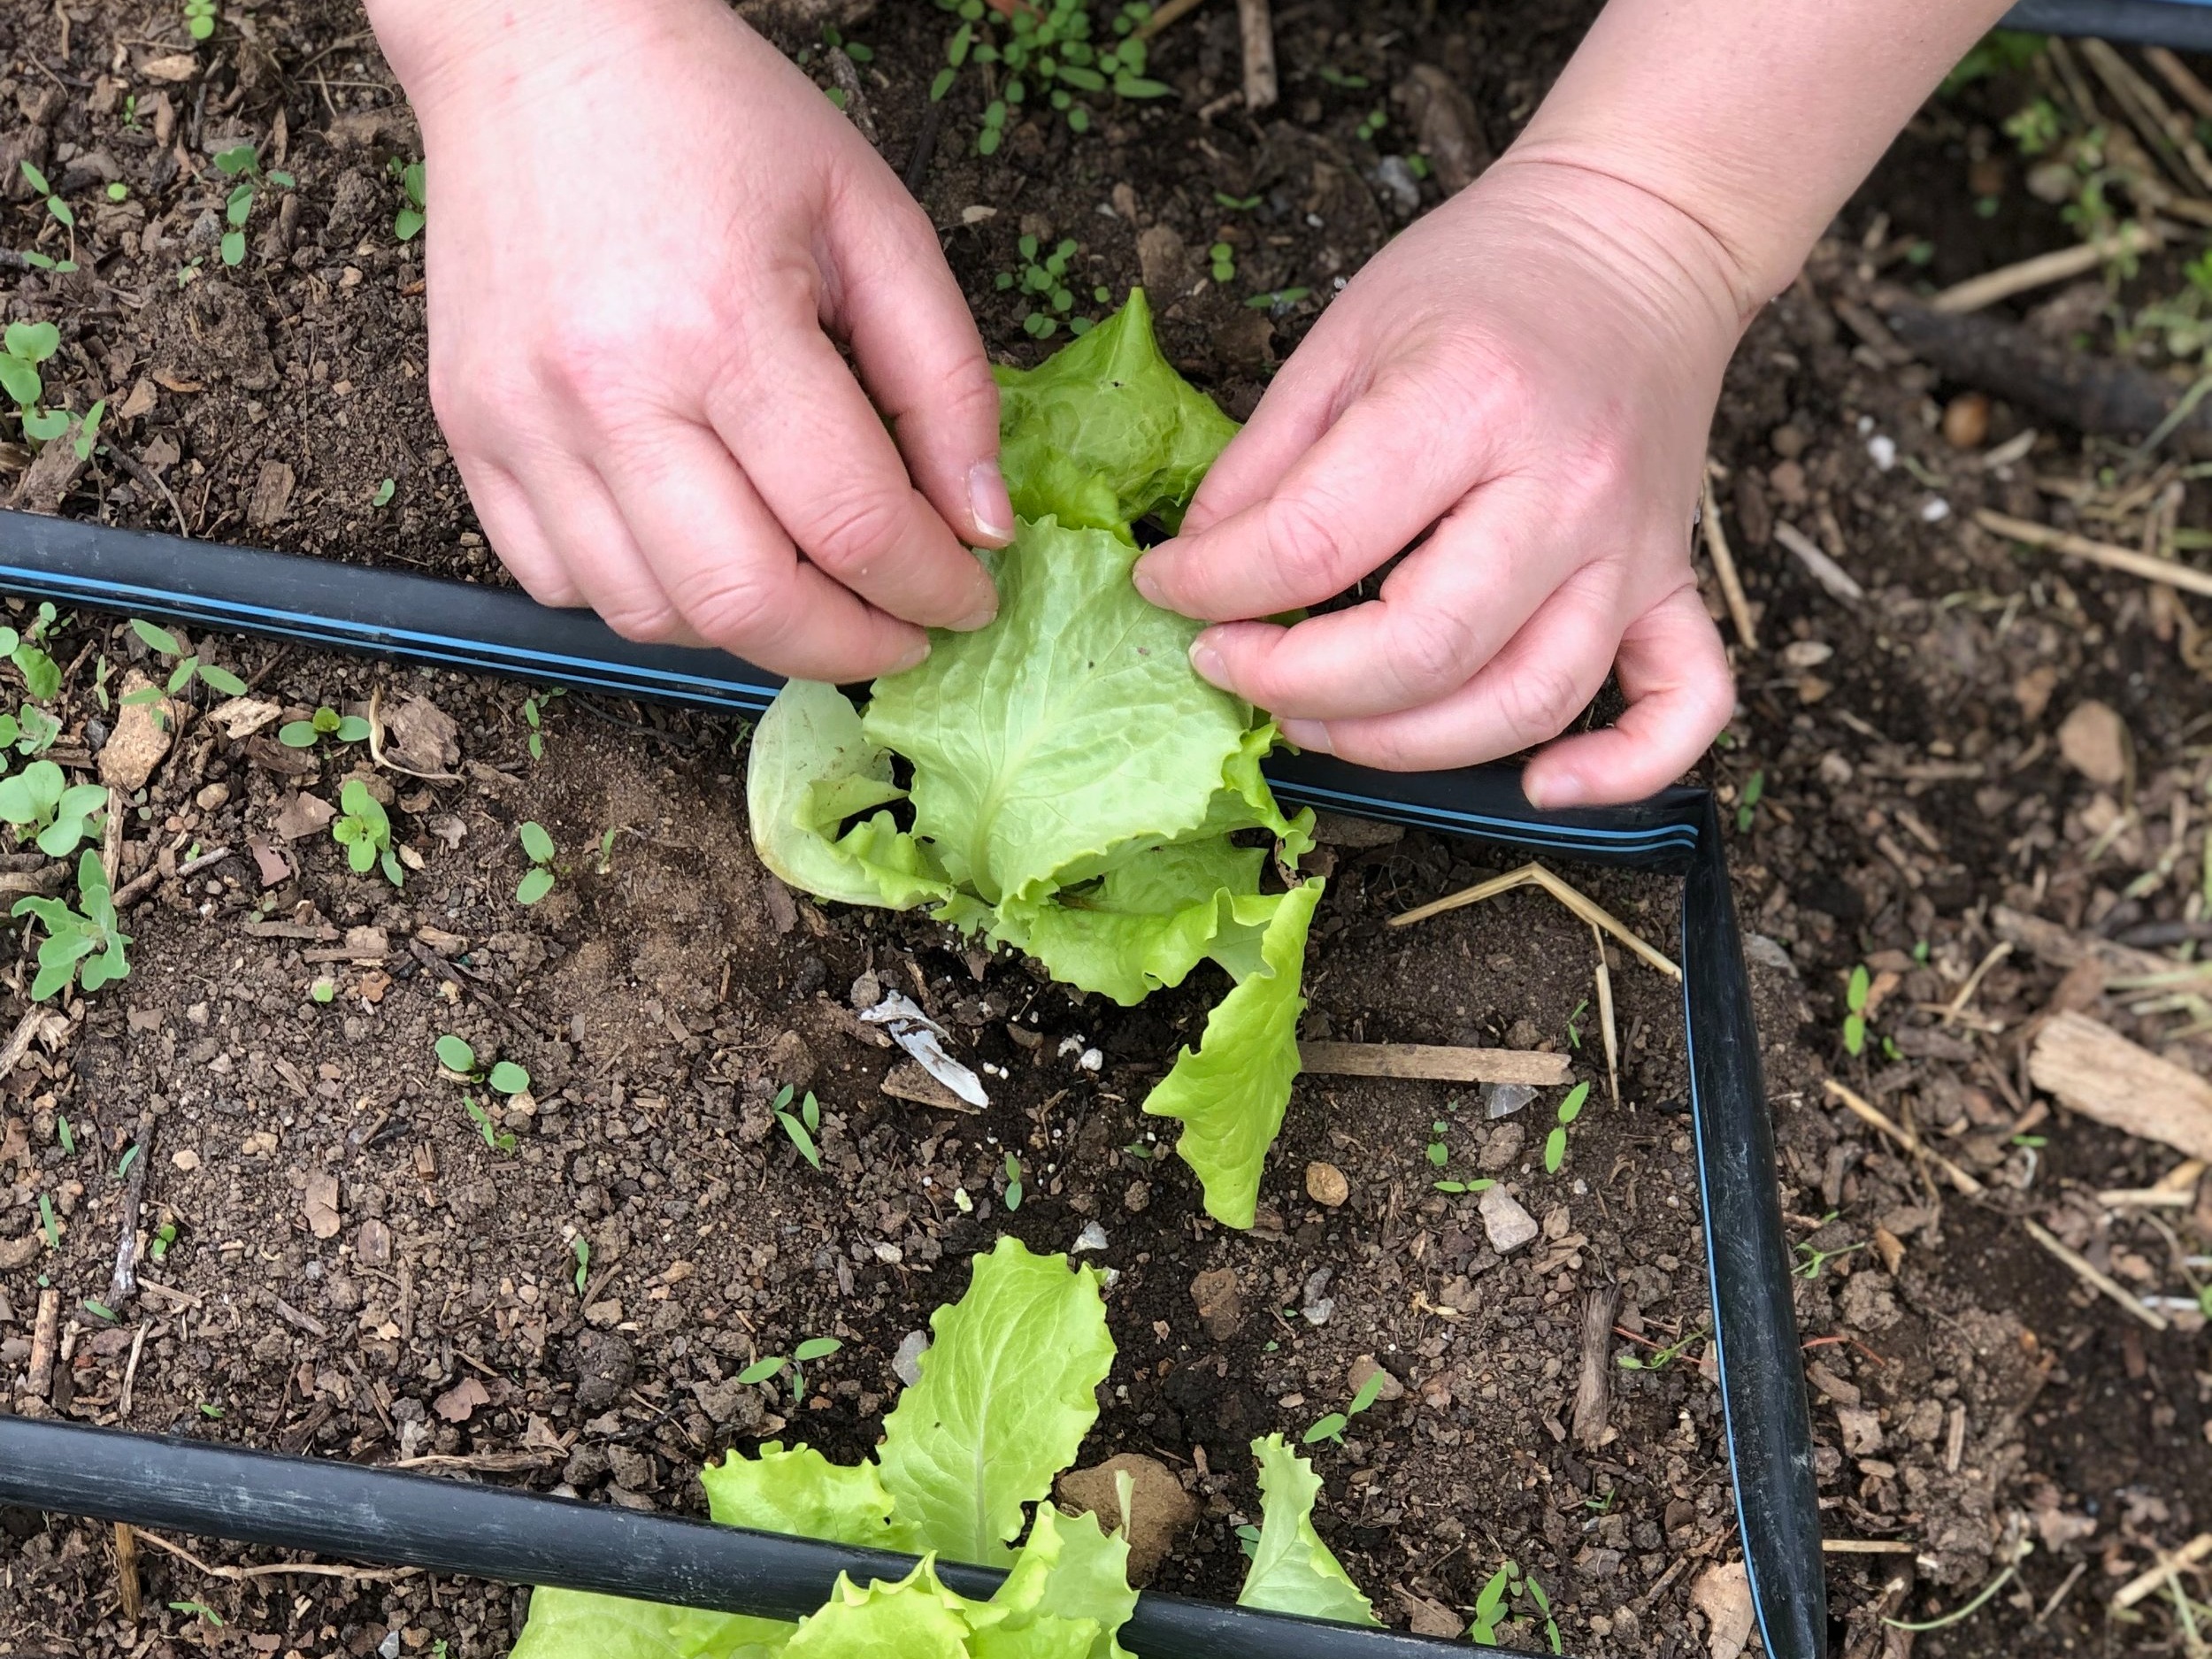
3) Physical control
Even after using these prevention methods, there’s a good chance you’ll still confront some pests in your garden, especially in a shared space. The next step in integrated pest management is physical control, such as knocking pests off of plants with a spray of water or using barriers and traps.
Here are some examples…
4) Organic chemical control
If all else fails, there are a number of organic chemical control options that are not particularly toxic except to insects. We use this as a last resort, since some of these approaches can also harm beneficial insects. Look for products that are approved by The Organic Materials Review Institute (OMRI) - a private, nonprofit organization that determines whether or not a product qualifies as organic under the USDA's National Organic Program. Food grade versions of Diatomaceous earth, Safer Soap and Neem Oil are a few examples.
We often say the trainings at our community gardens are more of a knowledge exchange… many of the gardeners bring a wealth of different experiences, and we’re always learning more together!
If you’re interested in reading more about natural pest control, The Organic Gardener’s Handbook of Natural Pest and Disease Control is a great resource that you can find at the Nashville Public Library. We also love The Timber Press Guide to Vegetable Gardening in the Southeast as a general guide to gardening in Tennessee.
What pest control approaches have worked for you in your garden? Let us know in the comments!
A Guide to Seed Starting
Since gardeners and farmers growing in many spaces can utilize and benefit from starting seeds indoors, we thought we’d share some of the tips and tricks the Growing Together farmers and staff of The Nashville Food Project use to grow the healthiest transplants!
By TNFP’s Growing Together Market Manager, Sally Rausch

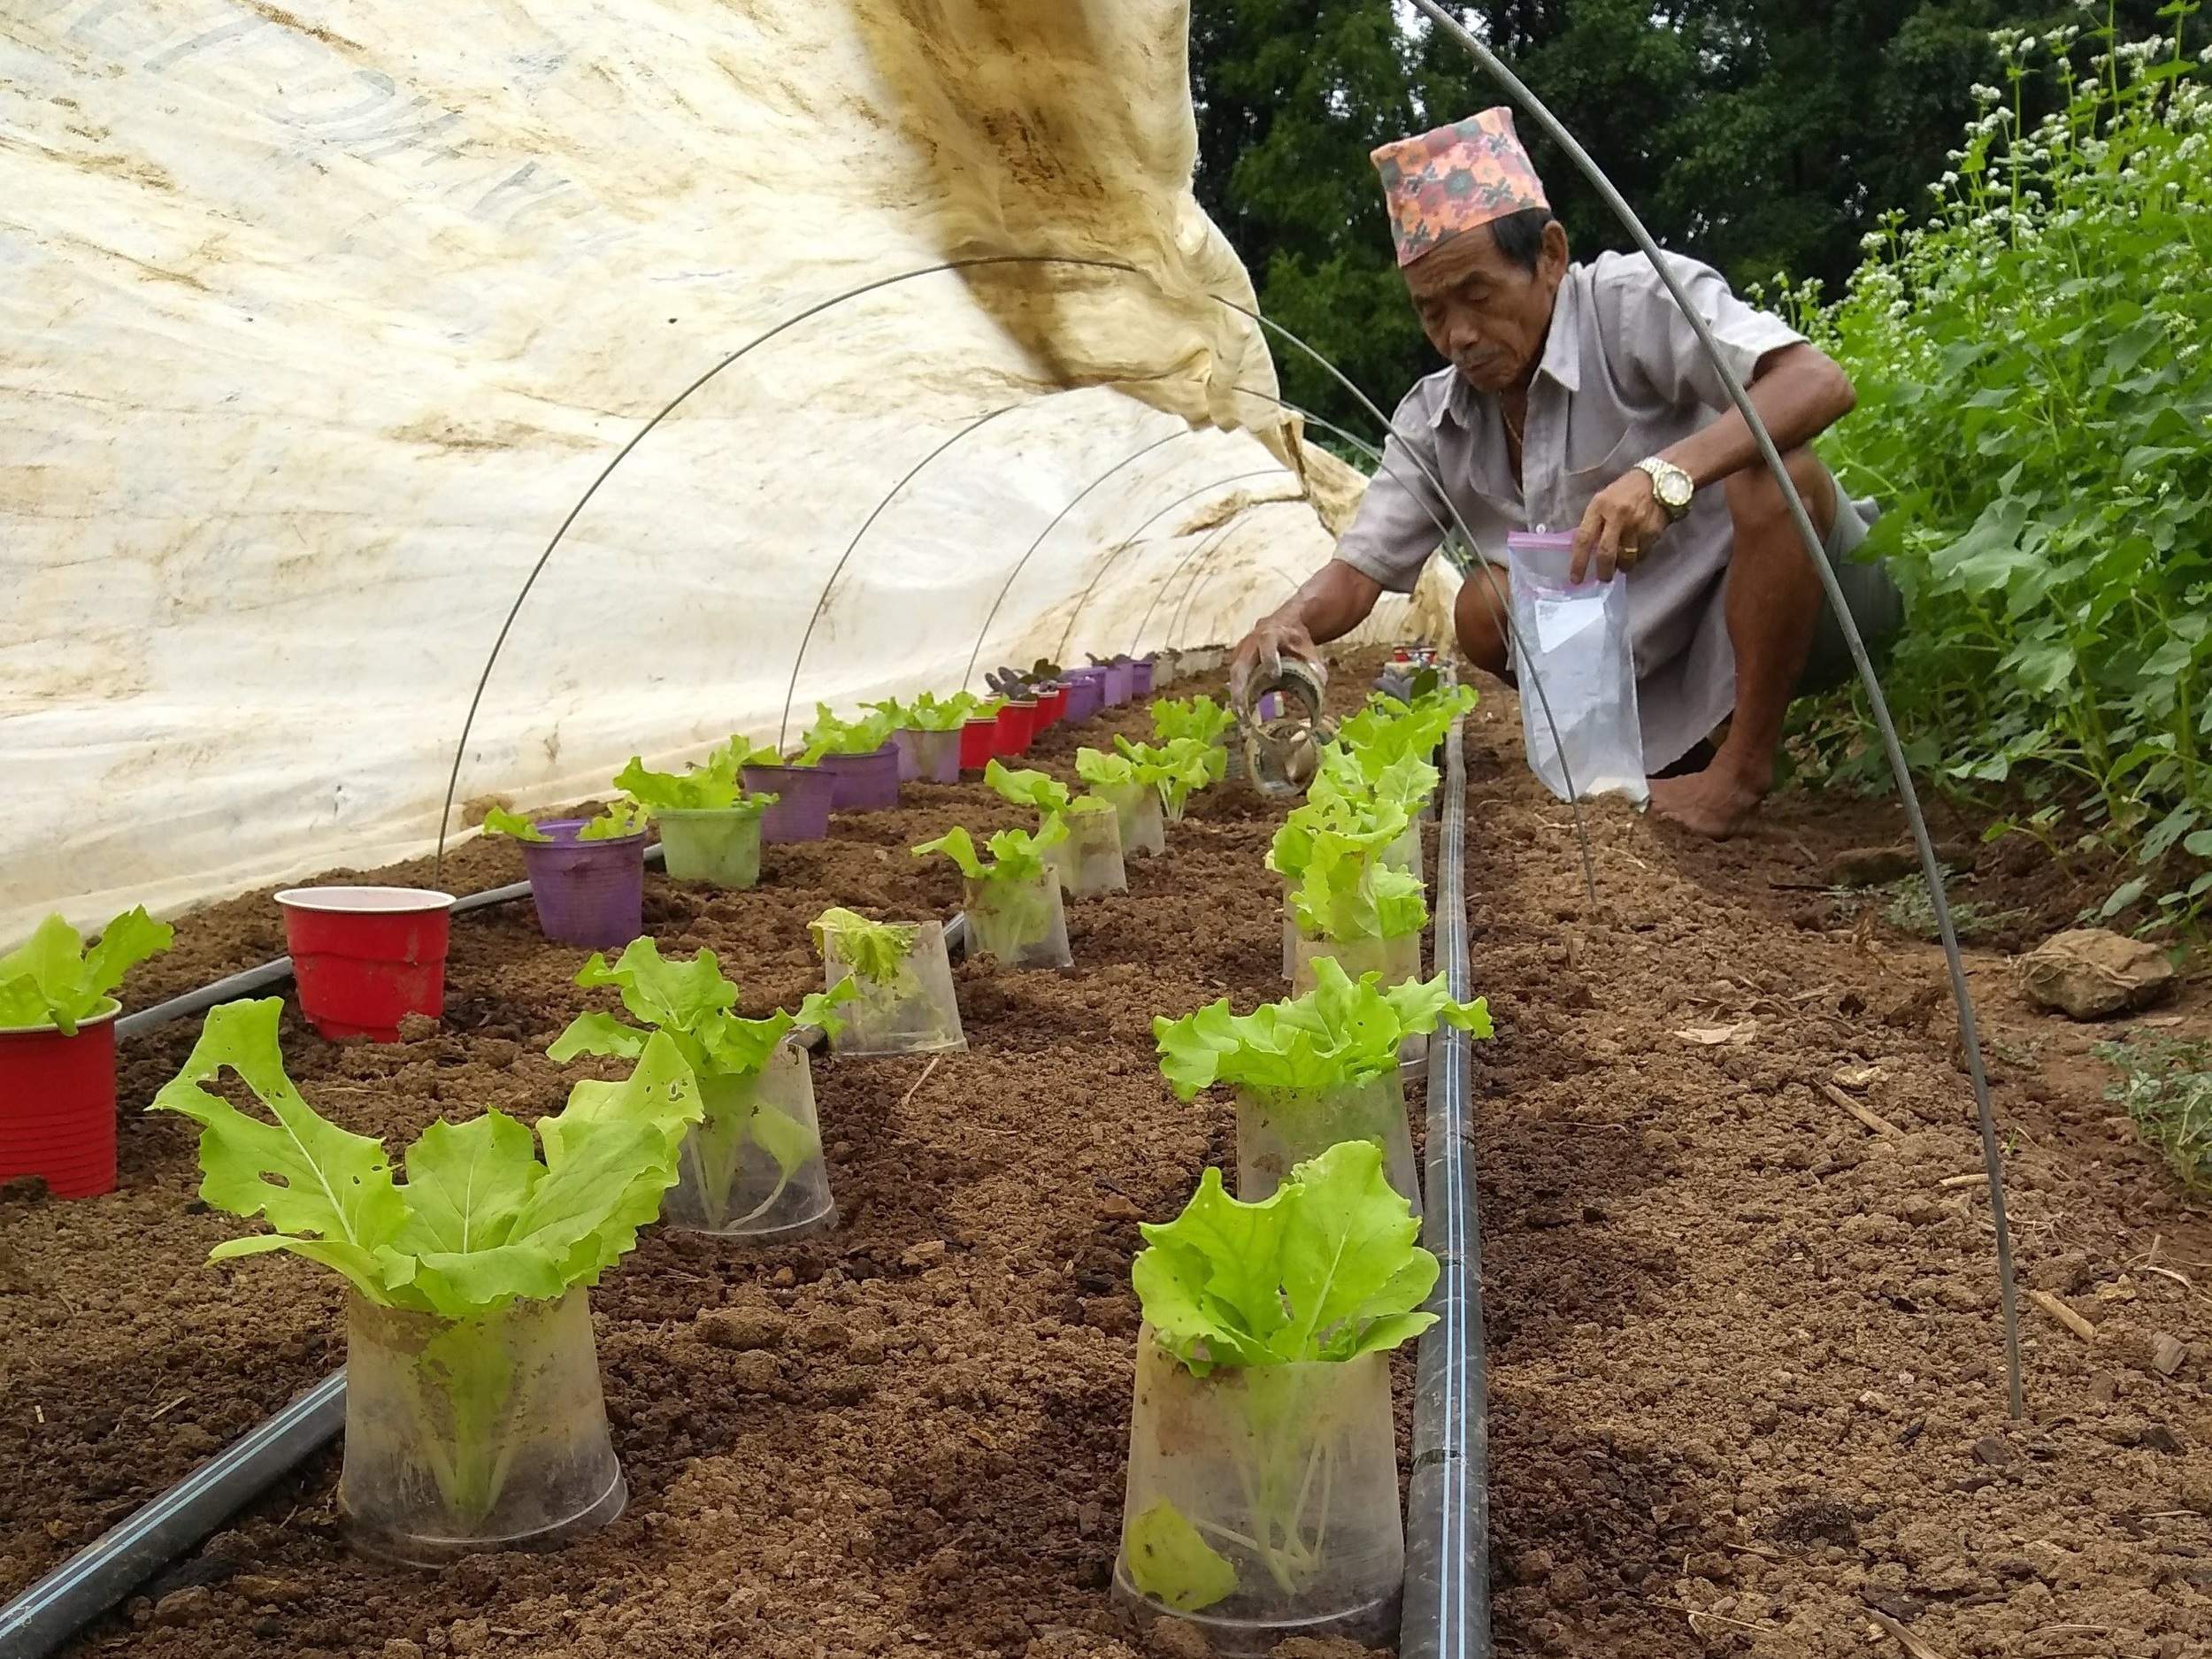
Lal Subba, Growing Together farmer, mixing potting soil in the Nashville State Community College greenhouse.
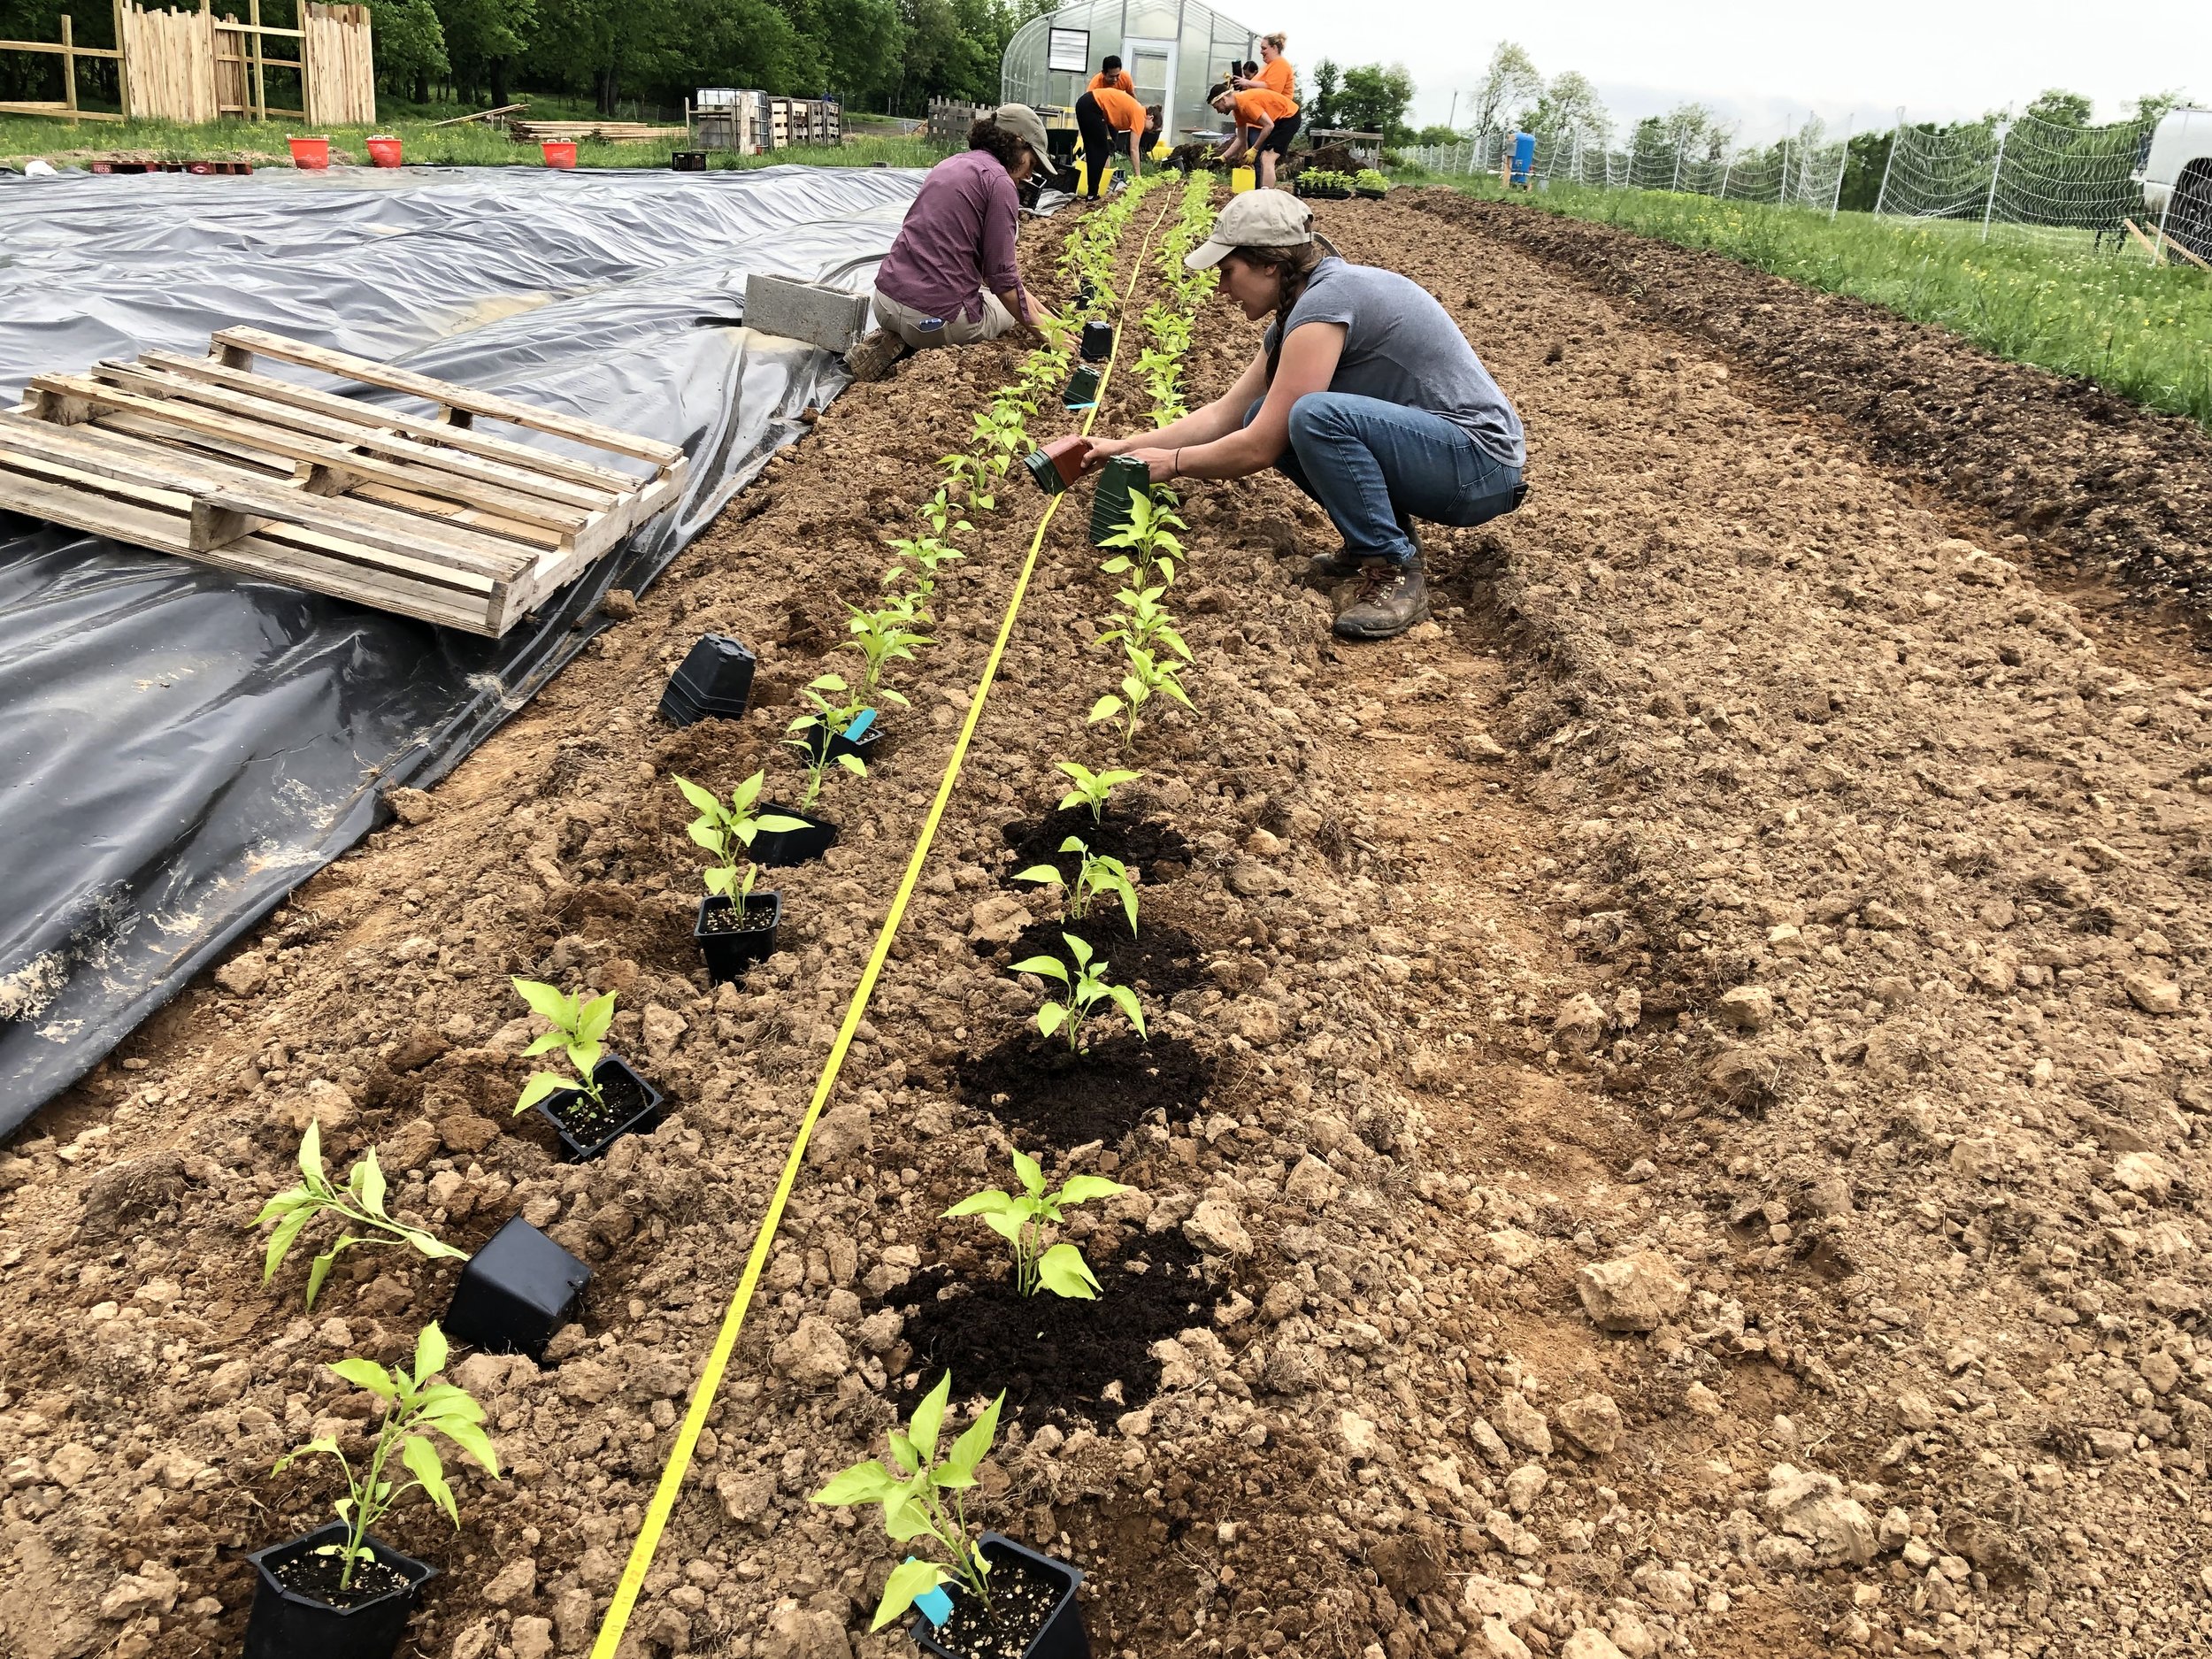
It’s officially spring! And like many vegetable growers, the Growing Together farmers are in the flurry of activity that comes with warmer weather and the beginning of a new growing season. These days you’ll find the farmers at their garden in South Nashville getting their plans and seeds in order, tilling their beds, and planting cool weather crops. But you’ll also find these farmers starting seeds in the greenhouse on Nashville State’s campus, which they generously share with The Nashville Food Project.
Starting seeds indoors is a primary component of spring farming work (and is utilized throughout the growing season as well). This allows farmers to get a head start on the growing season, cut costs (seeds are much cheaper than purchasing seedlings), and maintain control over the health of their seedlings.
Since gardeners and farmers growing in many spaces can utilize and benefit from starting seeds indoors, we thought we’d share some of the tips and tricks the Growing Together farmers and staff of The Nashville Food Project use to grow the healthiest transplants!

Materials You Need
Potting Mix: You can find pre-made potting mix at most local hardware or garden stores. When the Growing Together farmers purchase their own potting soil, they look for brands that are organic to eliminate any chemicals that might have been added. You can also make your own potting soil! There are many recipes out there, but you can find the recipe The Nashville Food Project uses at the end of this post.
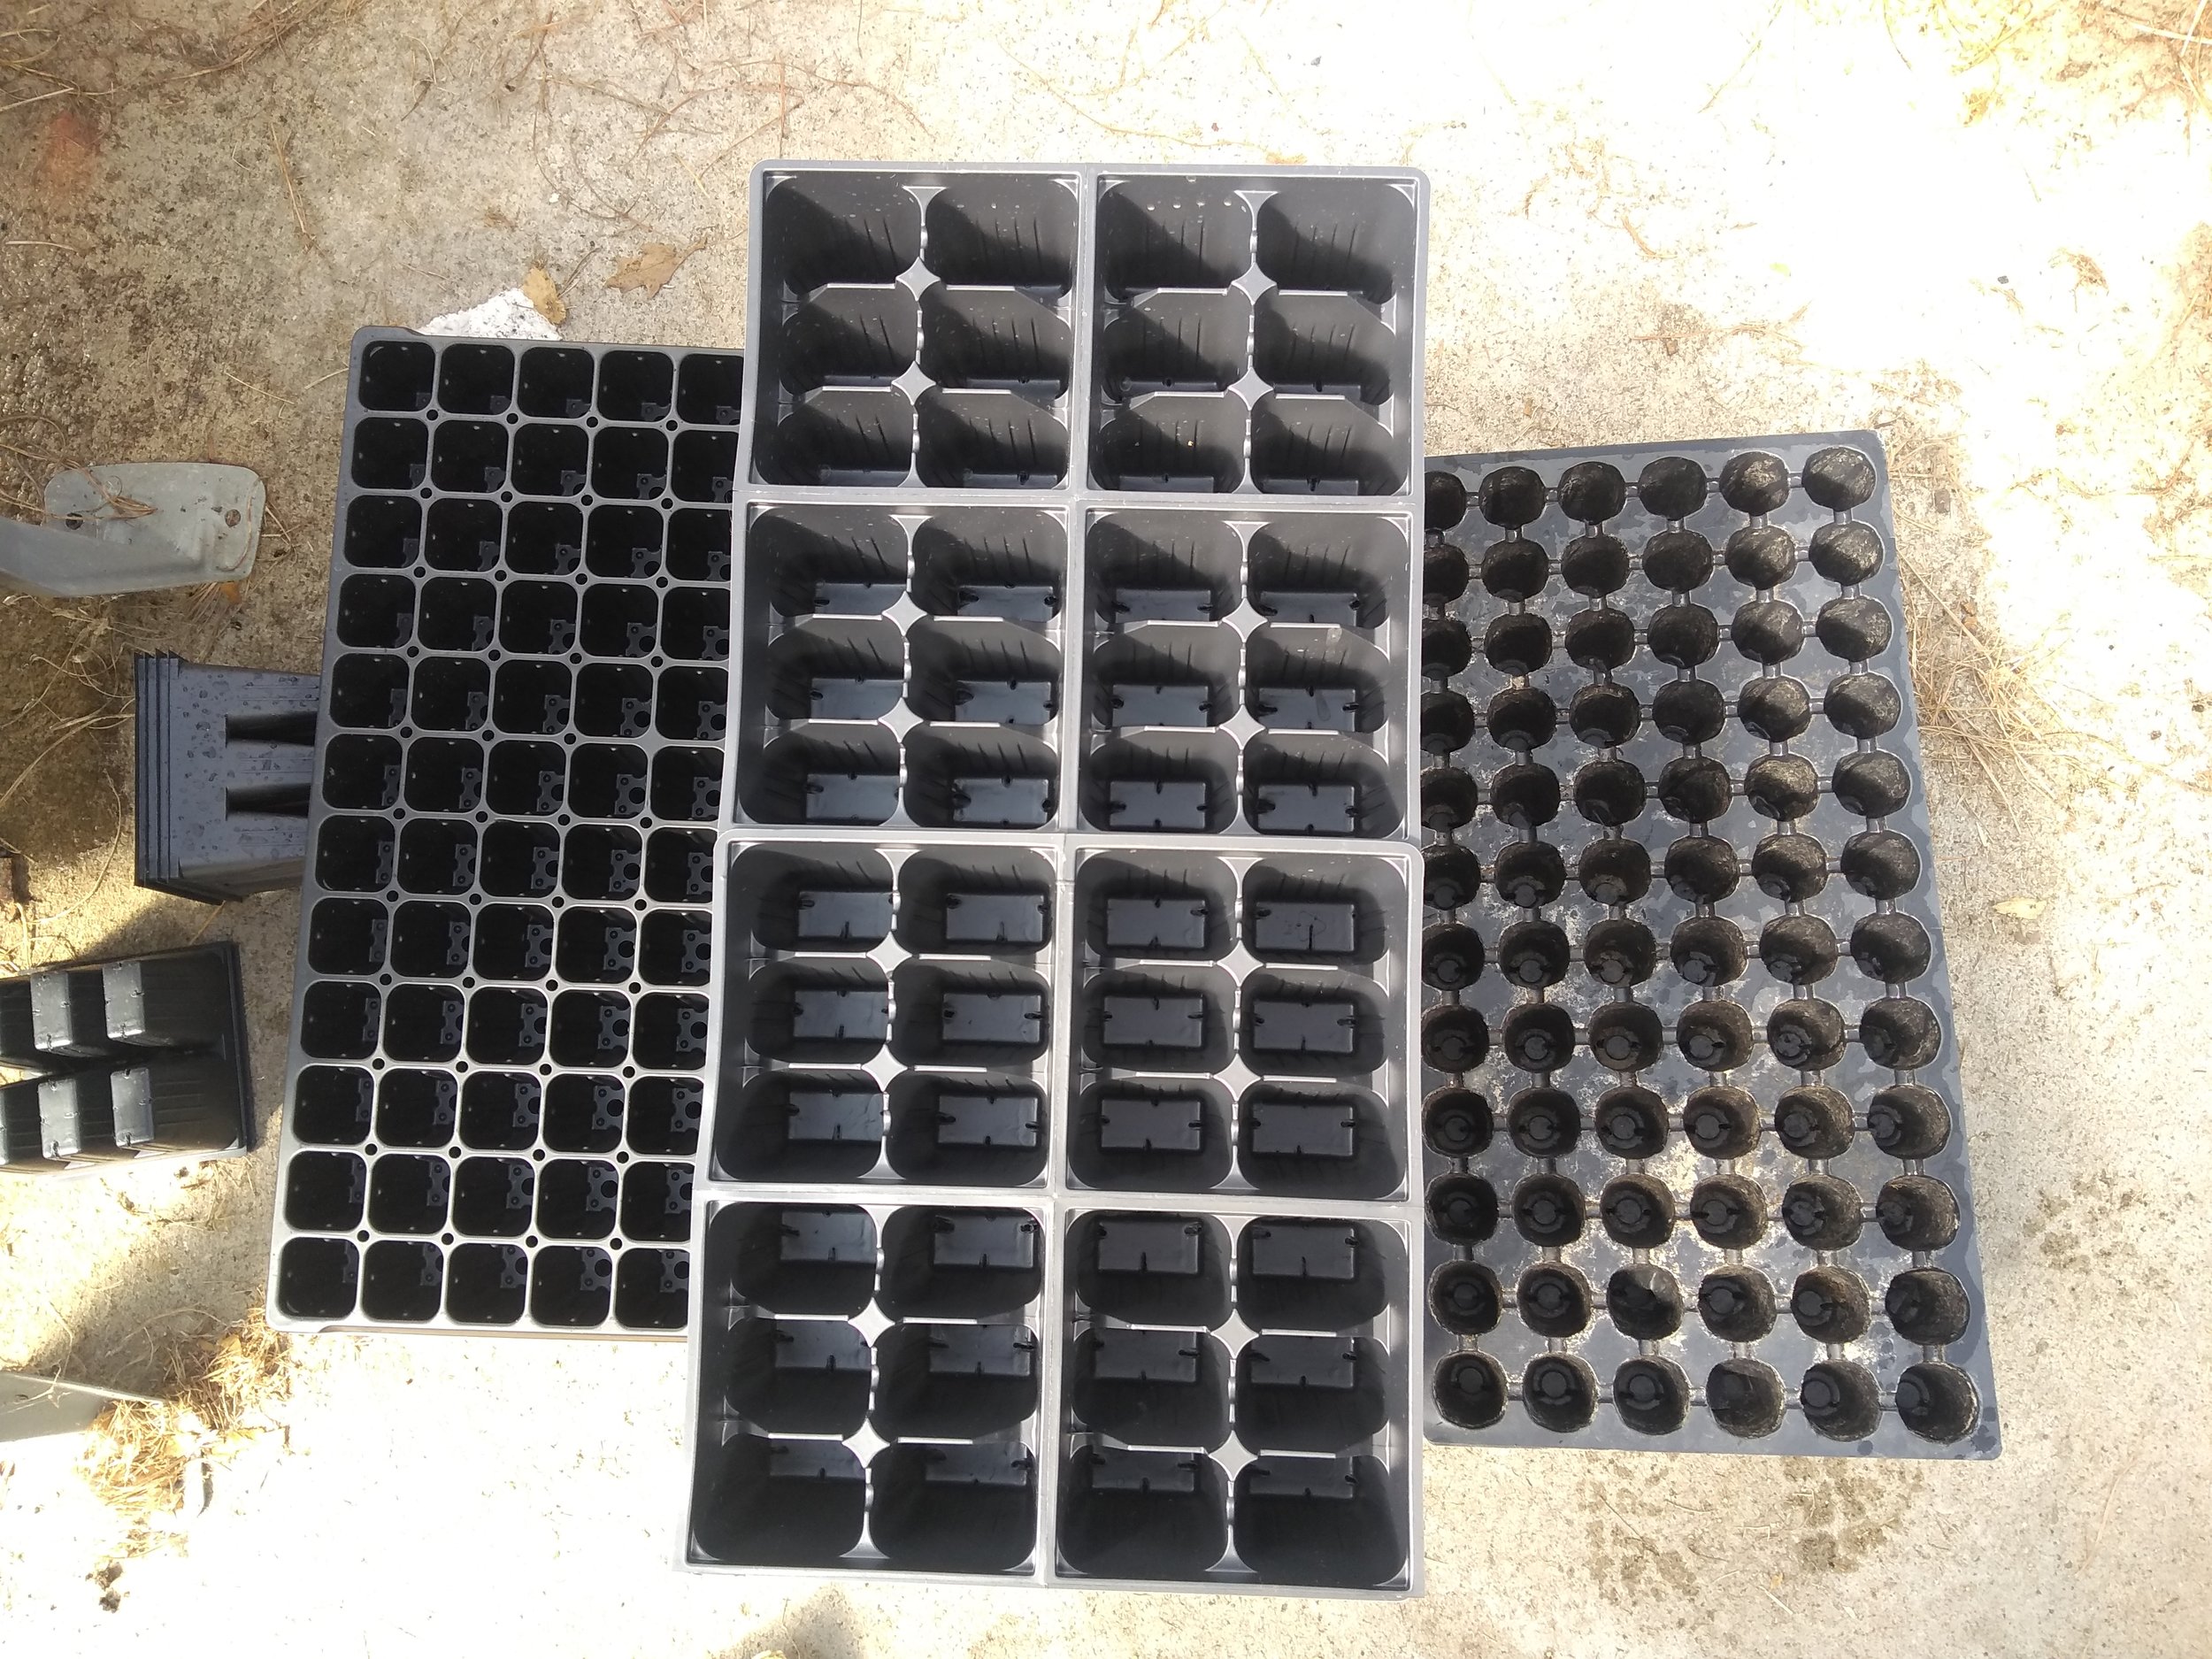
Seed Trays: Growing Together utilizes various types of trays depending on what they are planting, but it’s really up to you and your preferences. You can find seed trays at your local hardware store, or you can get creative and use recycled items like egg cartons, eggshells (be sure to carefully crack the eggs, so that most of the shell is retained like a small bowl), homemade newspaper boxes, K-cups from your morning coffee, and so much more. Click here for an article with even more ideas! Just make sure your medium has a drainage hole of some sort.

Seeds: Growing Together purchases their seeds from several seed companies, but many of the farmers also save their own seed from year to year! Here’s a great resource for learning more about the best tips for saving your own seeds.
Getting dirty!
1. Adding water: We often transfer the potting mix from our large bag into a smaller container, so that we can mix in water more easily. A five-gallon bucket works great when seeding smaller amounts. Begin adding water and mixing it into the soil. You want the soil wet enough that it clumps together when you squeeze a handful, but not so wet that it drips water when you squeeze it. Adding water before you put the soil in the trays helps the soil to absorb water more evenly after you plant your seeds. Beginning with dry soil, you run the risk of flooding the tray and disrupting your seeds when you water them.

After adding some water, we begin filling the seed trays.
2. Filling trays: Once your soil is ready, you can begin to transfer it into your trays. A great tip is to fill the entire tray and then go back through and press down gently with two fingers. This will lightly compact the soil, so you can then go back through and top off the tray with potting. This ensures that the seeds you plant will have the best growing environment to successfully germinate and begin growing roots.
3. Now it’s time to plant! Some tips to follow when you’re planting:
Depth matters! This is listed on the seed packet, or a good rule of thumb is to plant seeds 2-3 times as deep as the diameter of the seed.
Plant extra seeds, because sometimes every seed doesn’t germinate. You can always thin out extras later.
After you plant, place your seed trays in a warm location. Seeds germinate best at different temperatures, so it’s helpful to use the seed packet to find this information. For seeds that prefer warm soil to germinate (like tomatoes and peppers), we often put the trays on heating mats in our greenhouse. There are some DIY heating mat options out there, although this step isn’t absolutely necessary.
Once seeds germinate, make sure they are in a very sunny location. Seedlings will get leggy quickly if they are reaching too hard to find the light they need.
Water regularly to maintain soil moisture. You never want the soil to dry out, but balance is key. Add too much water and you run the risk of either your seeds or roots rotting.
Label your seeds! No matter how much you think you’ll remember, it’s always better to label what you’ve planted and when.

Remember to label!
When to start seeds
When to plant your seeds indoors varies greatly. Location, first and last frost dates, and crop are all things that impact planting dates. We love this resource that creates a planting calendar for your specific location with information about each crop’s best planting dates.
Ready to get started? Make your own potting soil at home using TNFP’s recipe below! You can also purchase produce directly from Growing Together farmers — find out where here, including information on purchasing a Fall CSA share (hurry, before it sells out!).
TNFP Homemade Potting Mix
Measure with a 5 gallon bucket:
3 buckets peat moss or coir
½ cup lime (to adjust pH)
Mix well.
Add:
2 buckets coarse sand (for drainage)
2 cups feather meal or blood meal (for nitrogen)
2 cups greensand (trace minerals)
Mix well.
Add:
1 bucket sifted soil (adds healthy bacteria from the garden)
2 buckets sifted compost (good organic matter)
Mix well.
